Burnt Toast
There’s something oddly familiar about the smell of toast that went a little too far in the toaster. It happens in real kitchens during busy mornings, sleepy evenings, or when you’re trying to do too many things at once. burnt toast isn’t really about perfection—it’s about those everyday moments where food still gets made, even if it’s not exactly planned. Sometimes it’s crispy, sometimes a little darker than expected, but it still carries that warm, comforting feeling of home. I’ve definitely pulled a slice out too late more than once, especially when the kitchen is full of distractions.
Why You Will Love This Recipe
This idea works because it turns something accidental into something you can still enjoy in a simple, flexible way. Instead of wasting bread, you can adjust the flavor with spreads, toppings, or a quick re-toast to bring it back to life. It’s budget-friendly since it uses ingredients you already have at home, and it fits into busy routines where nothing feels perfectly timed.
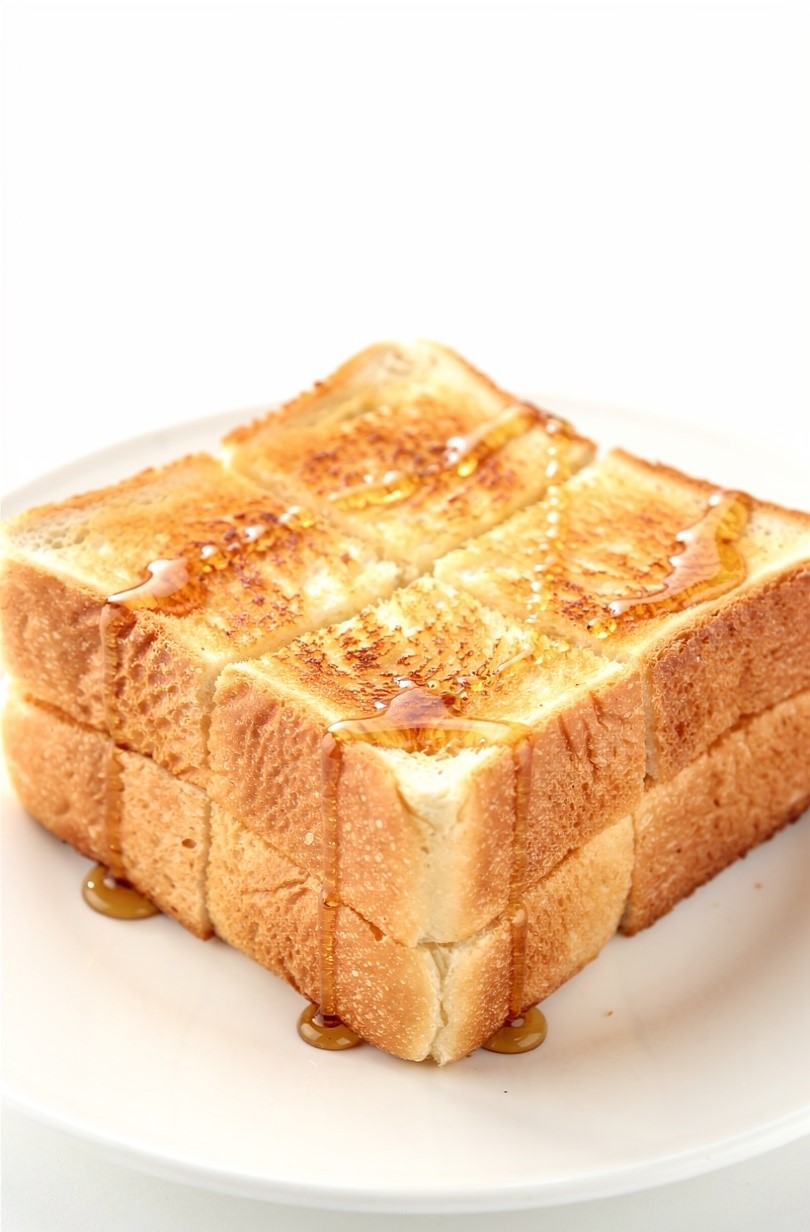
burnt toast moments are also surprisingly cozy when paired with the right toppings like butter, jam, or even a drizzle of honey. You can make it sweet or savory depending on your mood, which keeps it versatile for different meals. It’s quick, forgiving, and works well when you just need something warm without starting a full cooking process. Many people find it comforting in a simple, nostalgic way that feels very real to everyday home cooking.
Ingredients
Slightly thick bread works best because it holds texture even when toasted longer than usual.
- 2–4 slices bread
- 1–2 tablespoons butter
- 1–2 teaspoons jam or honey (optional)
- Pinch of salt (optional for savory version)
- Olive oil or spread (optional alternative)

Instructions
Step 1: Preparation
Start with fresh or slightly day-old bread slices and keep your toppings ready nearby. Place butter at room temperature so it spreads easily without tearing the surface. Set your toaster or pan heat level so you can control the browning carefully. This helps avoid going too far too quickly while still achieving a crisp texture on the outside.
Step 2: Main Cooking Process
Place bread into the toaster or heated pan and watch closely as it begins to change color. The edges will slowly turn golden, then deeper brown as heat builds. Stay nearby, since the difference between lightly crisp and burnt toast happens quickly. The smell becomes stronger as the surface darkens and the texture tightens slightly.
Step 3: Combining Ingredients
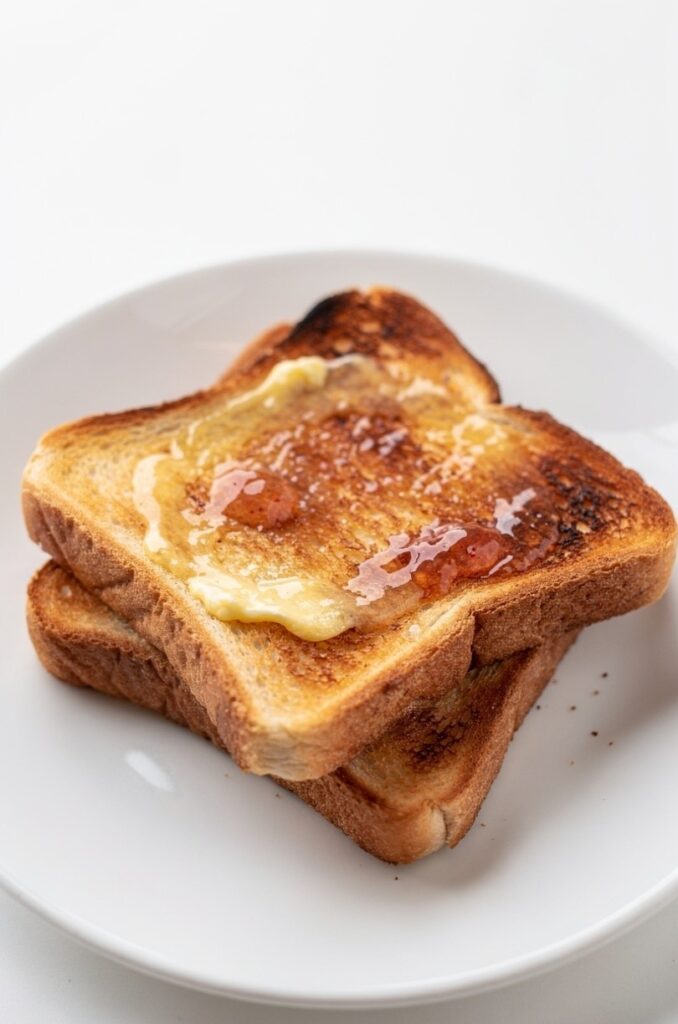
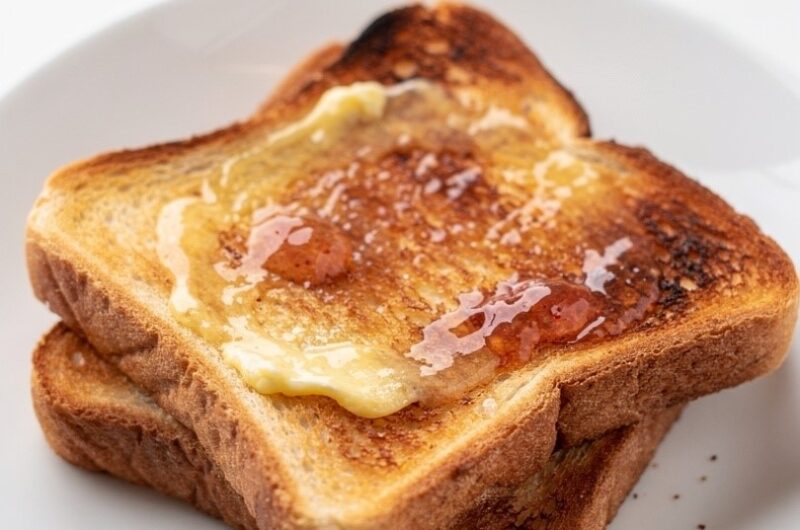
Once toasted, remove the bread immediately and place it on a plate. While still warm, spread butter so it melts into the surface and softens the crisp edges slightly. Add jam, honey, or savory spreads depending on your preference. The warmth helps everything blend into the toast without needing extra steps or cooking.
Step 4: Finishing & Final Simmer
Let the toast sit for a minute so the texture settles and the toppings absorb slightly into the surface. This softens the sharp crispness while keeping the toasted character intact. Adjust flavor with a small pinch of salt or extra spread if needed. Serve warm for the best balance of crunch and comfort.
Why This Recipe Works for Busy Days
This idea is perfect for busy days because it takes something already quick and makes it even more flexible. There’s no long cooking process or cleanup involved, and it uses ingredients you already have at home. It also works well when you’re multitasking, since it only needs a few minutes of attention. Even slightly over-toasted bread can still become a simple, comforting snack or light meal.
Tips & Tricks
- Watch the toast closely because browning happens fast once it starts. Many people step away for just a moment and end up with overly dark slices. Staying near the toaster or pan helps you control the texture better and prevents the bread from becoming too dry or bitter in flavor.
- Use slightly thicker bread slices so they hold up better during toasting. Thin slices tend to dry out quickly and lose structure, especially when toasted longer than usual. Thicker bread gives a better balance of crisp edges and soft centers even if it goes a little darker.
- Don’t overload with toppings right away if the toast is very crisp. Adding too much too quickly can make the texture soggy and uneven. Start with a light layer of butter or spread, then adjust after tasting so the flavor stays balanced and controlled.
- If the toast is darker than planned, pairing it with moist toppings like jam or butter helps improve texture. This balances the dryness and brings back a softer bite. Small adjustments can make even slightly overdone toast enjoyable instead of wasted.
Variations
Meaty version
For a savory twist, top warm toast with thin slices of cooked chicken or turkey along with a light spread of butter or olive oil. The richness helps balance the crisp edges. Add a pinch of salt or herbs for extra flavor. This turns simple toast into a quick, filling bite for light meals.
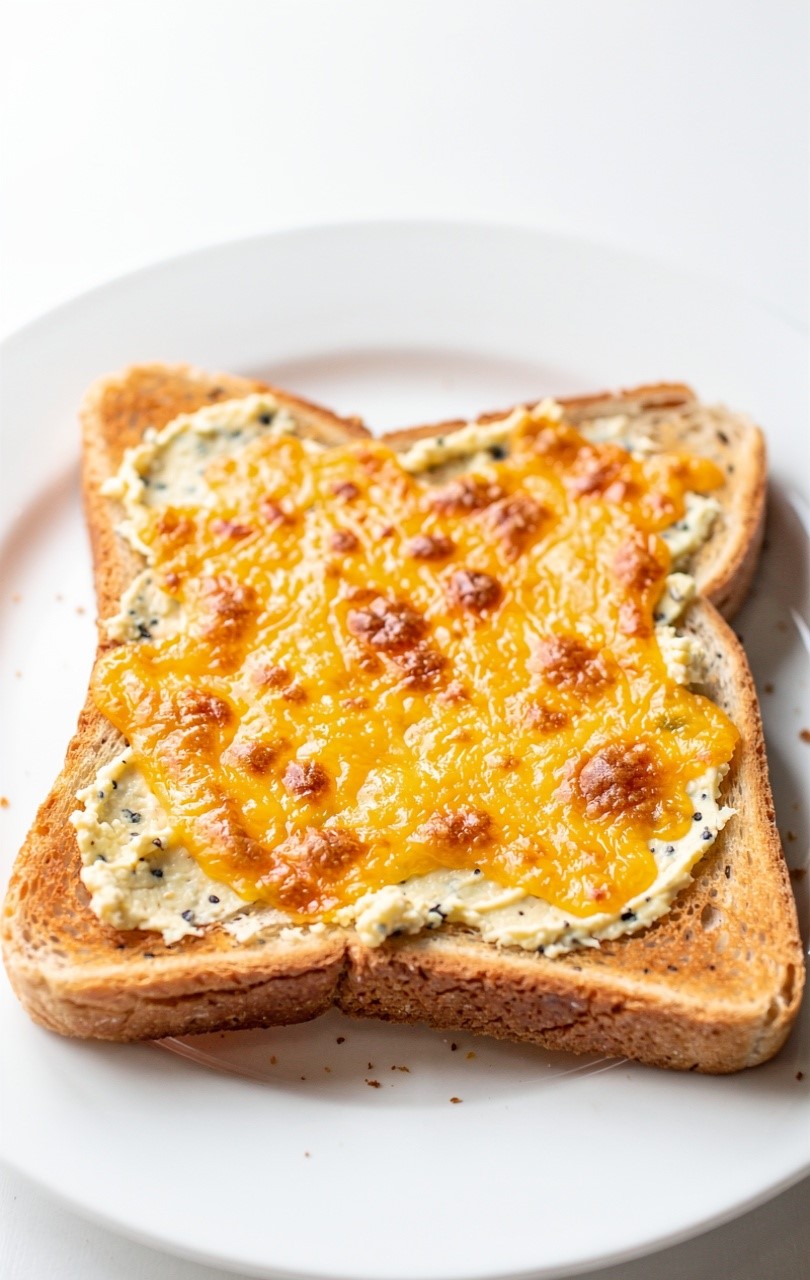
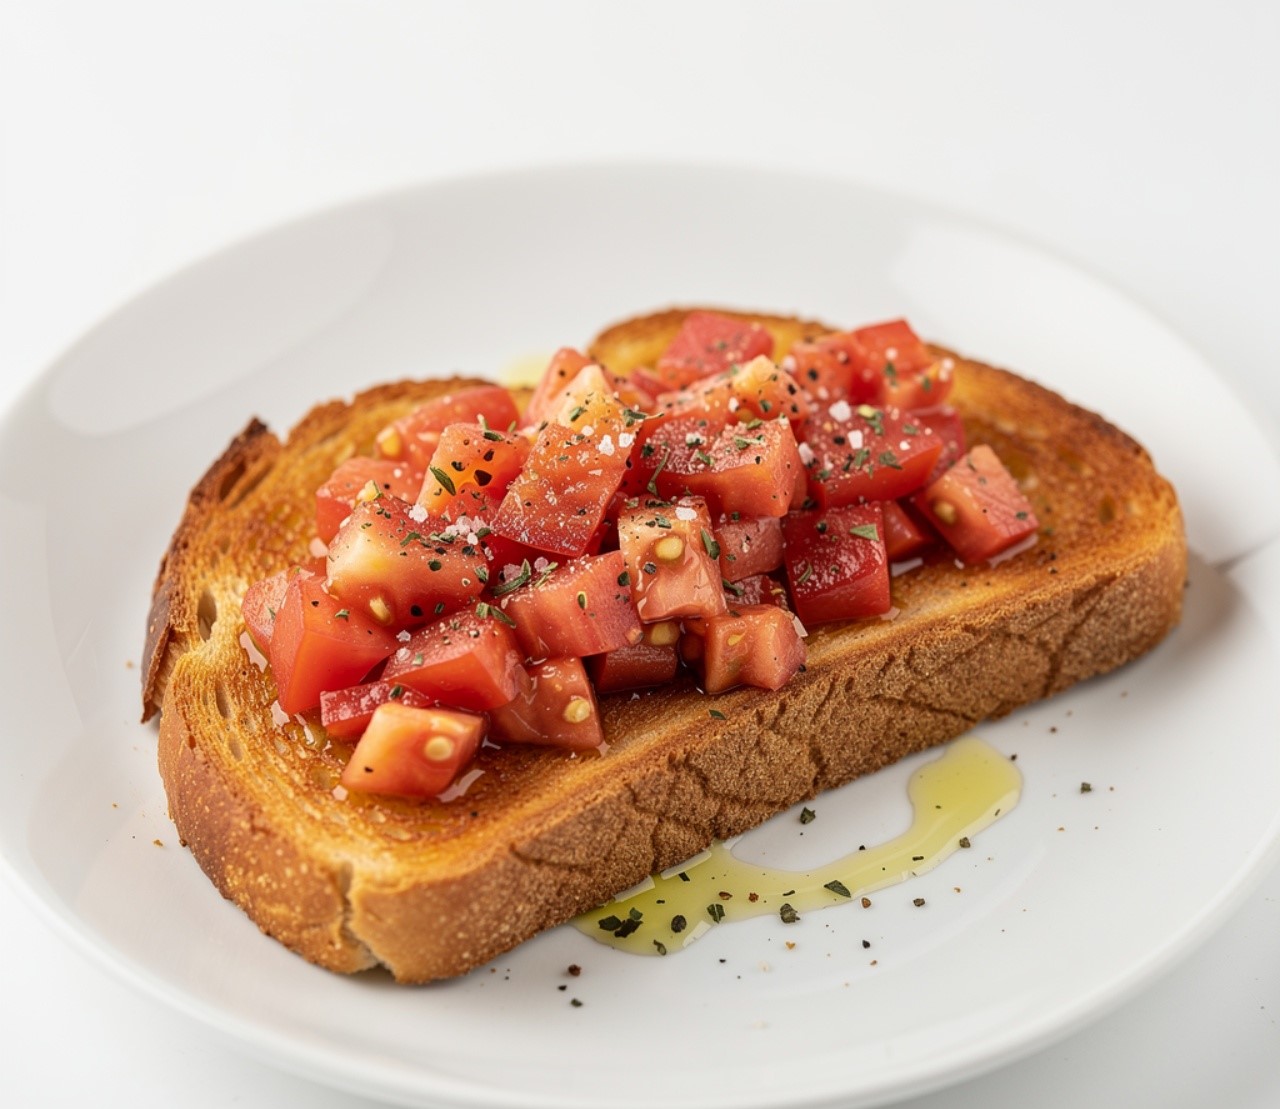
Vegetarian option
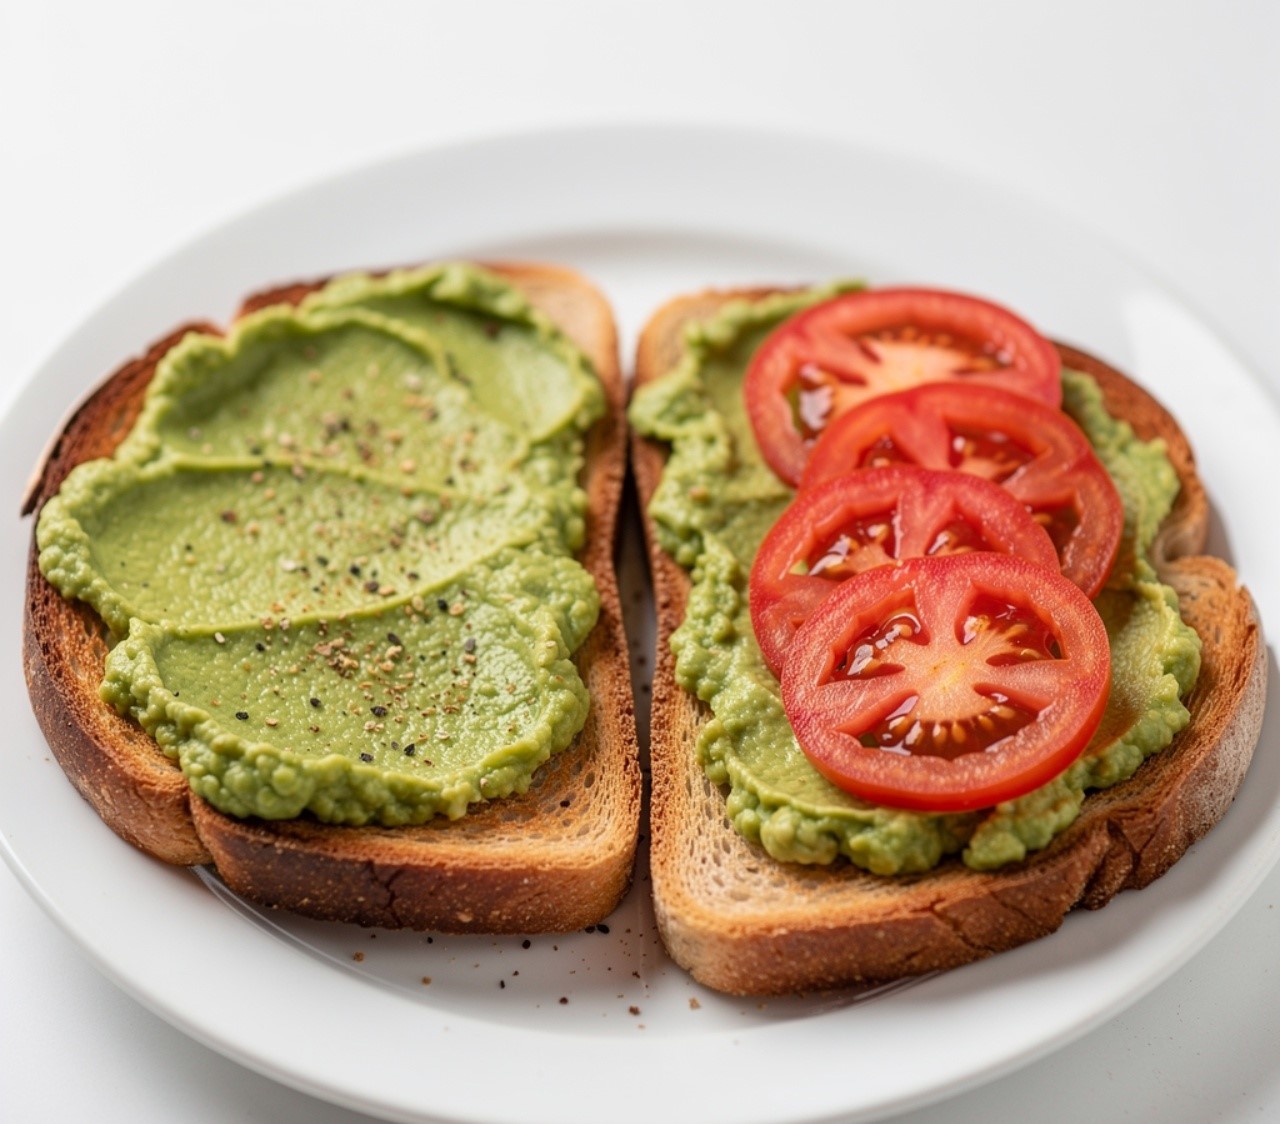
Add mashed avocado, sliced tomatoes, or soft cheese on top of the toast. The creamy texture helps balance the crispness and makes it more satisfying. A small sprinkle of salt or pepper enhances the natural flavors without overwhelming the simple base.
Ingredient swap
Try using sourdough, whole grain, or multigrain bread instead of regular white bread. Each type brings a different texture and flavor, especially when toasted a bit longer. You can also swap butter with plant-based spreads for a lighter or dairy-free option.
Flavor or herb boost
Add cinnamon and sugar for a sweet version or dried herbs like oregano and basil for a savory touch. These small additions change the entire flavor profile without changing the simplicity of the recipe. It keeps things interesting while using the same basic method.
Serving Suggestions
- Simple Breakfast Plate
Serve warm toast with fruit or yogurt on the side for a light breakfast. The contrast between soft and crisp textures makes it feel complete without needing extra effort. It’s a simple way to start the day with something warm and familiar. - Quick Lunch Option
Pair toast with a bowl of soup or salad for a fast lunch. The crisp texture works well with warm or fresh sides, creating a balanced meal that doesn’t take much time to prepare. It’s practical for busy afternoons. - Evening Snack Moment
Enjoy toast with tea or coffee during a quiet evening break. Add sweet or savory toppings depending on your mood. It feels comforting and light, perfect for unwinding without cooking a full meal. - Casual Sharing Plate
Prepare a few slices with different toppings and serve them together. This makes it easy for everyone to pick their favorite version. It’s simple, relaxed, and works well for family or small gatherings.
Storage Instructions
- Fridge Storage
Store bread separately from toppings in airtight containers to keep everything fresh. Toasted bread is best eaten immediately, but if needed, it can be kept in the fridge for a short time. Toppings should always be stored separately to avoid sogginess and loss of texture. - Reheating
Reheat toast in a toaster or dry pan for a few minutes to bring back crispness. Avoid using a microwave for too long, as it can make the bread soft and chewy instead of crisp. A quick reheat works best for restoring texture. - Freezing
Freeze bread slices before toasting for longer storage. Wrap them properly to prevent freezer damage. When needed, thaw and toast directly for fresh results. This keeps the bread usable without affecting flavor or texture too much. - Make-ahead tips
Prepare spreads and toppings ahead of time and store them in the fridge. This allows you to quickly assemble toast whenever needed. It saves time during busy mornings or evenings and keeps preparation simple and stress-free.
Recipe Timing
Prep Time: 3–5 minutes
Cook Time: 3–5 minutes
Rest Time: 1 minute
Total Time: 7–10 minutes
Nutrition Information
Each serving of burnt toast ranges from about 150–300 calories depending on bread type and toppings. Protein is usually 3–8 grams per serving. It also contains carbohydrates for energy and small amounts of fats depending on spreads used. These values are estimates and can vary based on portion size and ingredients.
FAQs
Can I make this ahead of time?
It’s best eaten fresh, but toppings can be prepared in advance.
What is the most common mistake?
Walking away while toasting, which leads to over-dark bread.
Can I use any type of bread?
Yes, but thicker bread works better for texture.
Why is my toast too dry?
It may have been toasted too long or at high heat.
How should I store leftovers?
Store bread and toppings separately for best results.
Can I change the flavor easily?
Yes, sweet or savory toppings can completely change the taste.
Conclusion
This burnt toast idea is a reminder that not every kitchen moment needs to be perfect to still feel comforting. Even slightly over-toasted bread can become something warm and enjoyable with the right toppings and small adjustments. It’s quick, flexible, and fits easily into busy routines when you just need something simple. You can keep it sweet, savory, or somewhere in between depending on what you have at home. It’s the kind of everyday food that quietly works when plans don’t go exactly right, and still feels satisfying in its own way.
Burnt Toast
Course: Breakfast Toast Recipes2
servings3
minutes3
minutes300
kcalA simple and cozy way to turn slightly over-toasted bread into a warm, comforting snack or light meal using basic pantry ingredients and easy toppings.
Ingredients
2–4 slices bread
1–2 tablespoons butter
Jam or honey (optional)
Pinch of salt
Olive oil or spread (optional)
Directions
- Prepare bread and toppings.
- Toast bread in toaster or pan.
- Watch closely for color change.
- Remove when crisp.
- Spread butter while warm.
- Add toppings and serve.