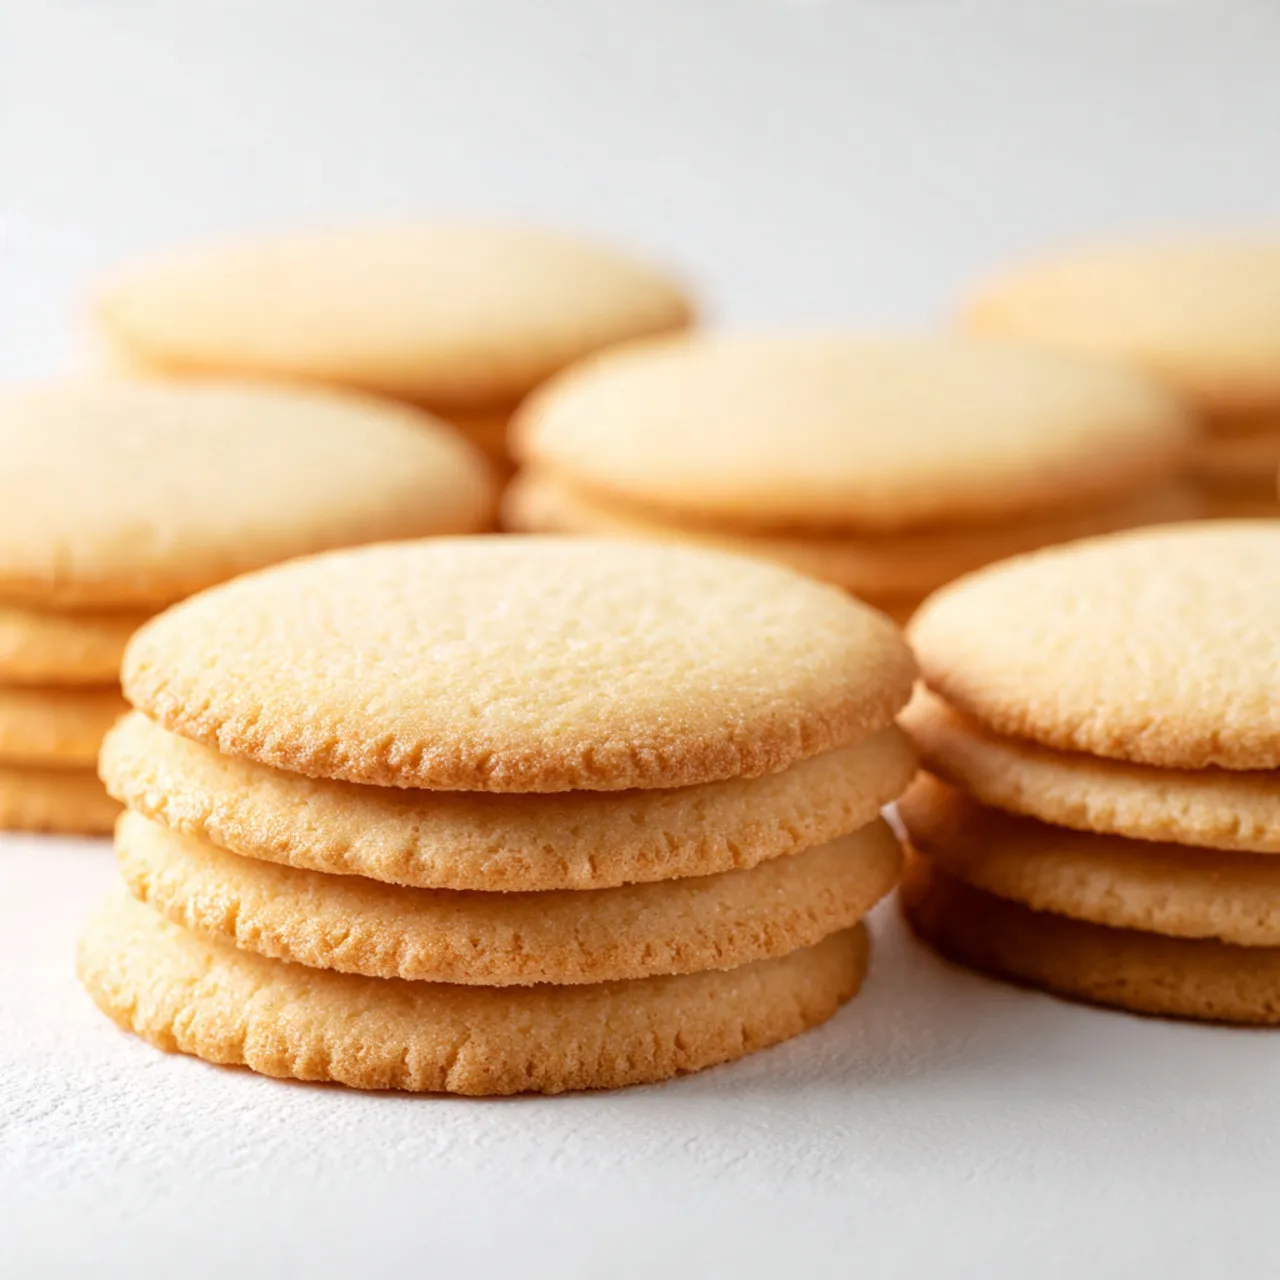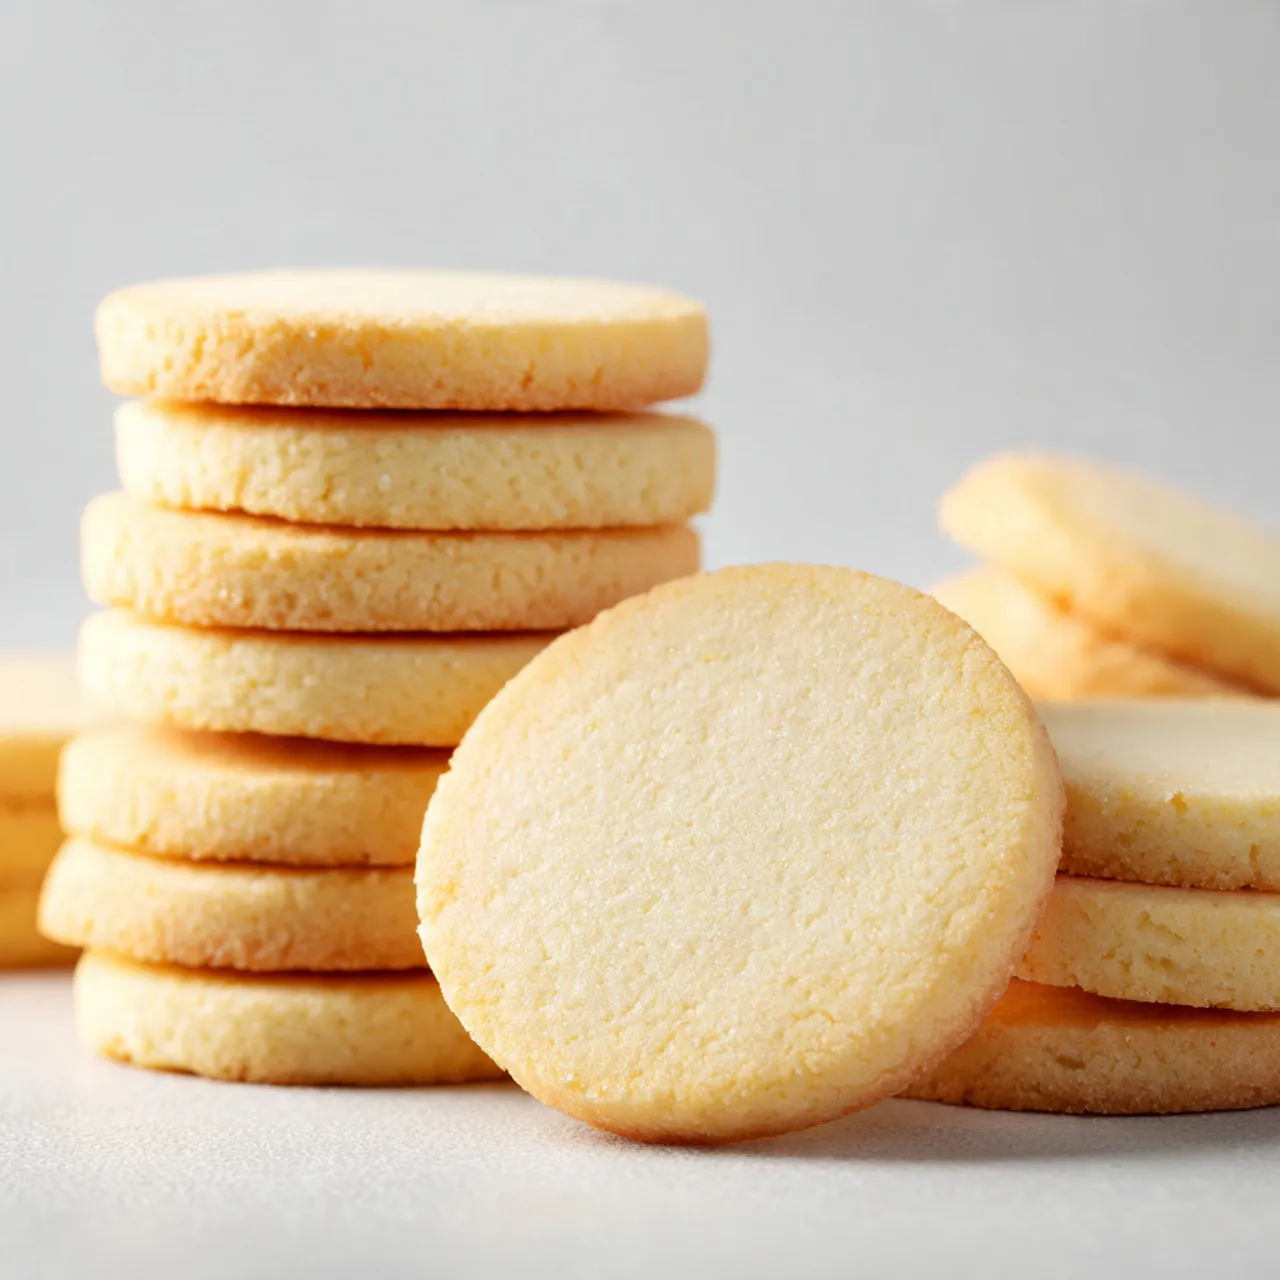
Sugar Cookie Icing Recipe
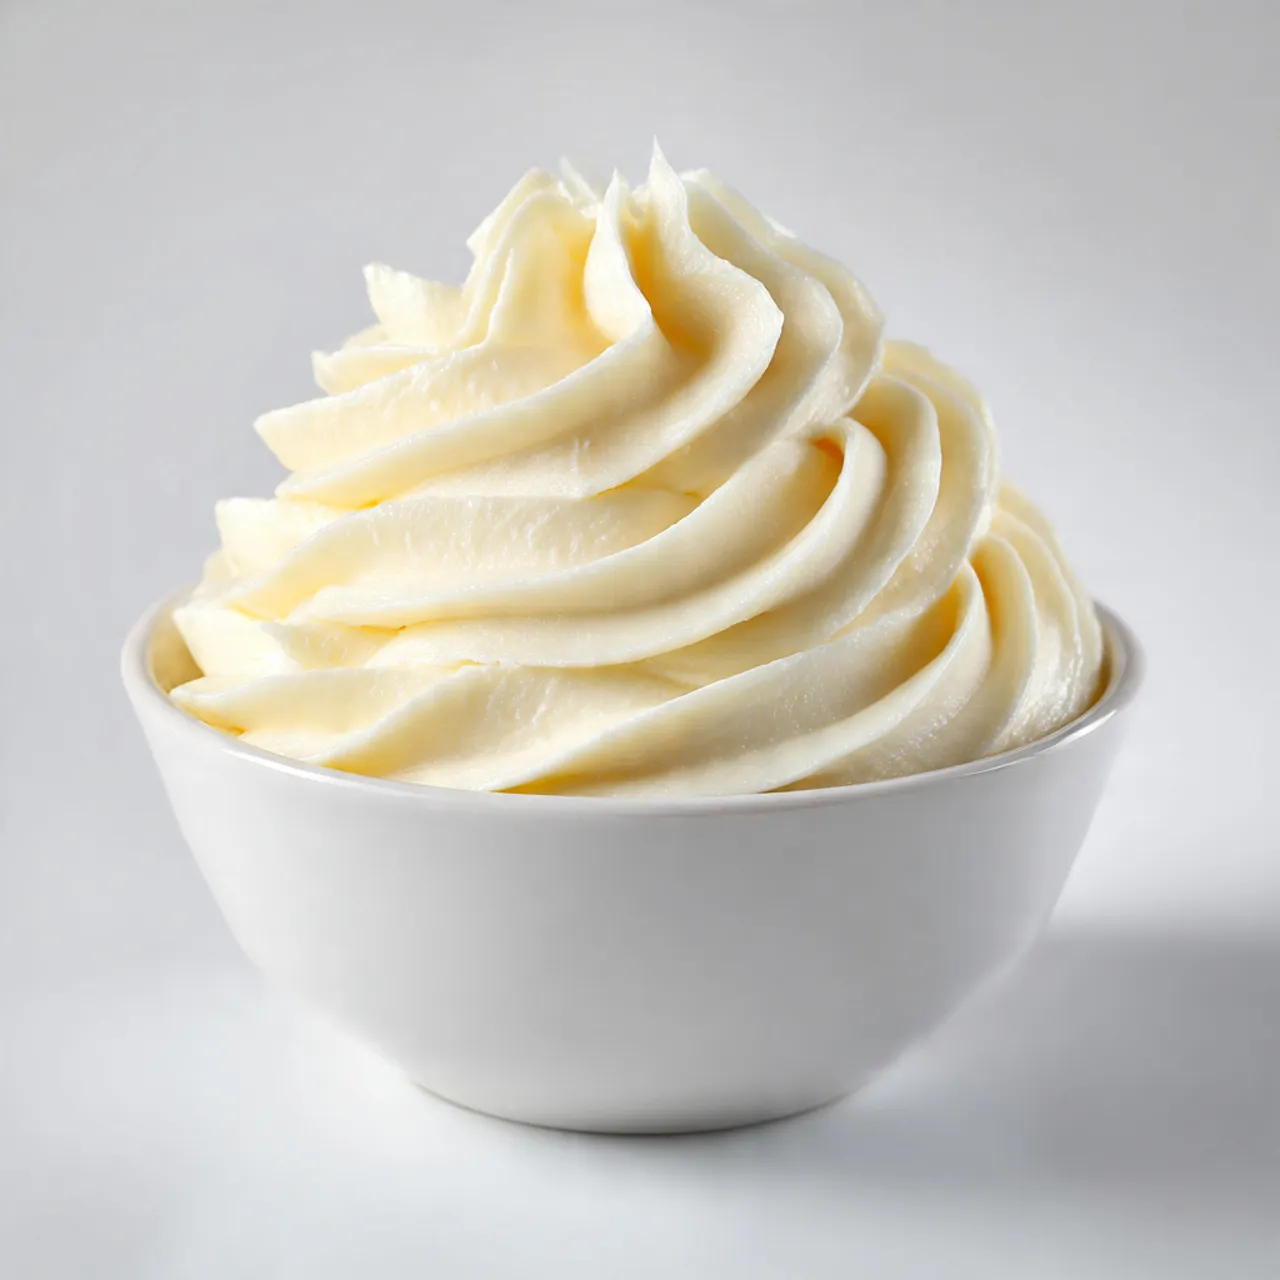
This sugar cookie icing recipe is the kind you keep coming back to once you’ve tried it. It’s smooth, glossy, and easy to work with, whether you’re decorating cookies with kids or finishing a tray for a weekend gathering. People love it because it sets nicely without turning rock-hard, so cookies still taste homemade and comforting. It fits right into real life—busy afternoons, last-minute bake sales, or quiet evenings when you just want to decorate a few cookies and unwind. I usually mix it up right after the cookies cool, while the kitchen still smells sweet and warm, and it never feels like extra work.
Why You Will Love This Recipe
You’ll love this icing because it’s simple and forgiving, even if decorating isn’t your strong point. The texture is smooth enough to spread easily, yet thick enough to hold shape for basic designs. It’s budget-friendly, made with pantry staples you probably already have, and flexible enough for different colors or flavors. This sugar cookie icing recipe also works well for make-ahead baking days since it stores and re-mixes beautifully. It’s cozy, kid-friendly, and crowd-pleasing without feeling fussy. Whether you’re icing a small batch or a full holiday tray, it keeps the process calm and enjoyable, which is exactly what home baking should feel like.
Ingredients
Tip: Use fresh powdered sugar for the smoothest icing with no gritty texture.
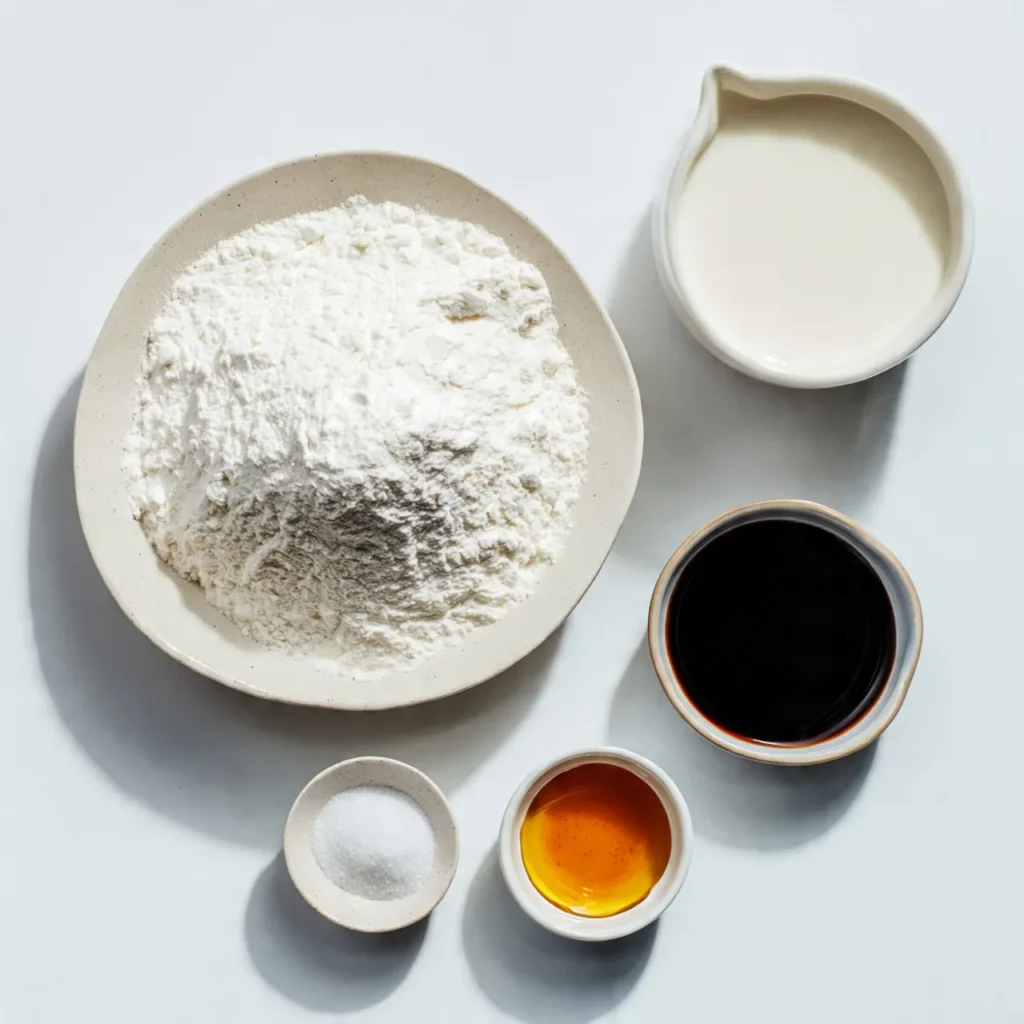
- Powdered sugar – 2 cups
- Milk – 2 to 3 tablespoons
- Light corn syrup – 1 tablespoon
- Vanilla extract – 1 teaspoon
- Salt – a small pinch
Instructions
Step 1: Preparation
Sift the powdered sugar into a medium bowl to remove any lumps. This small step makes a big difference in how smooth the icing looks. Set everything within reach so mixing feels relaxed, not rushed.
Step 2: Main Cooking Process
Add the milk, corn syrup, vanilla, and salt to the sugar. Stir slowly with a spoon or spatula. The mixture will look thick and cloudy at first, then start turning glossy as it comes together.
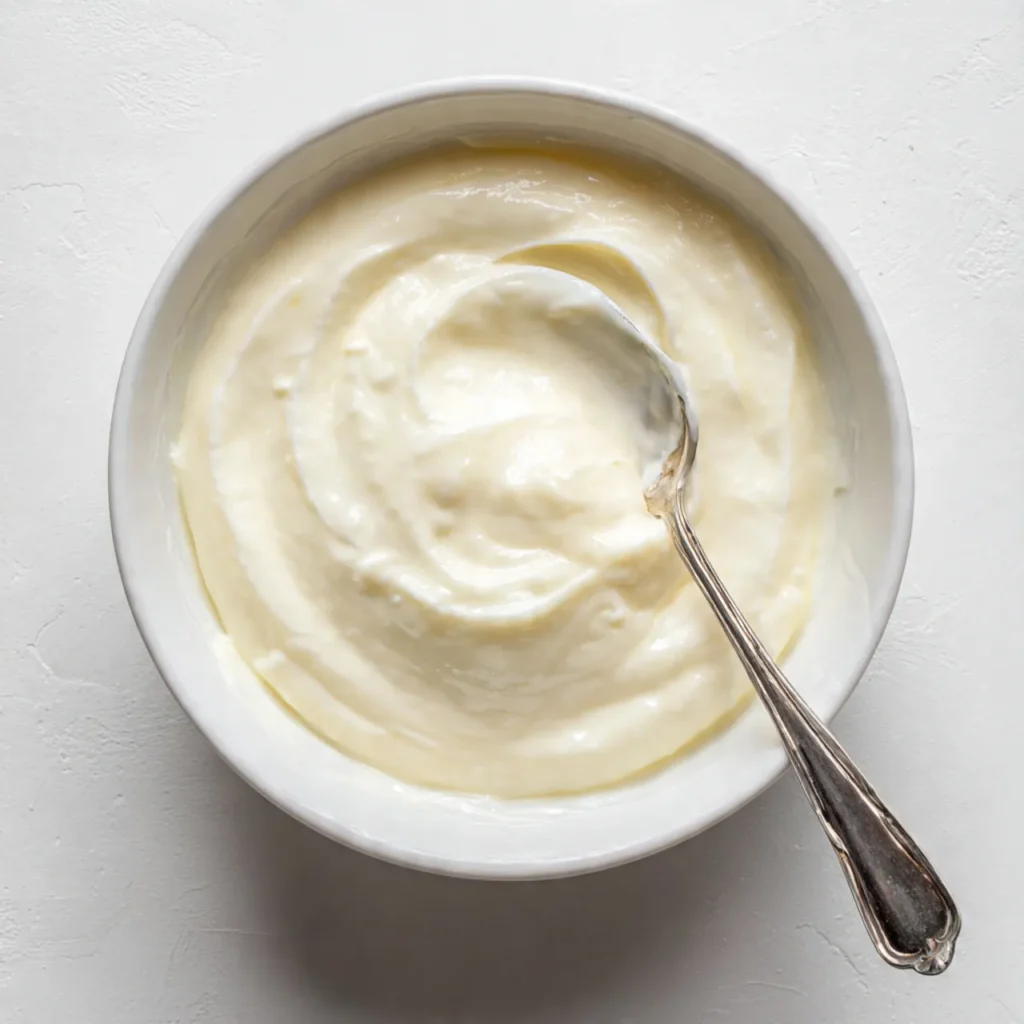
Step 3: Combining Ingredients
Keep mixing until the icing is smooth and drips slowly from the spoon. If it feels too thick, add milk a few drops at a time. If it’s runny, sprinkle in a little more powdered sugar.
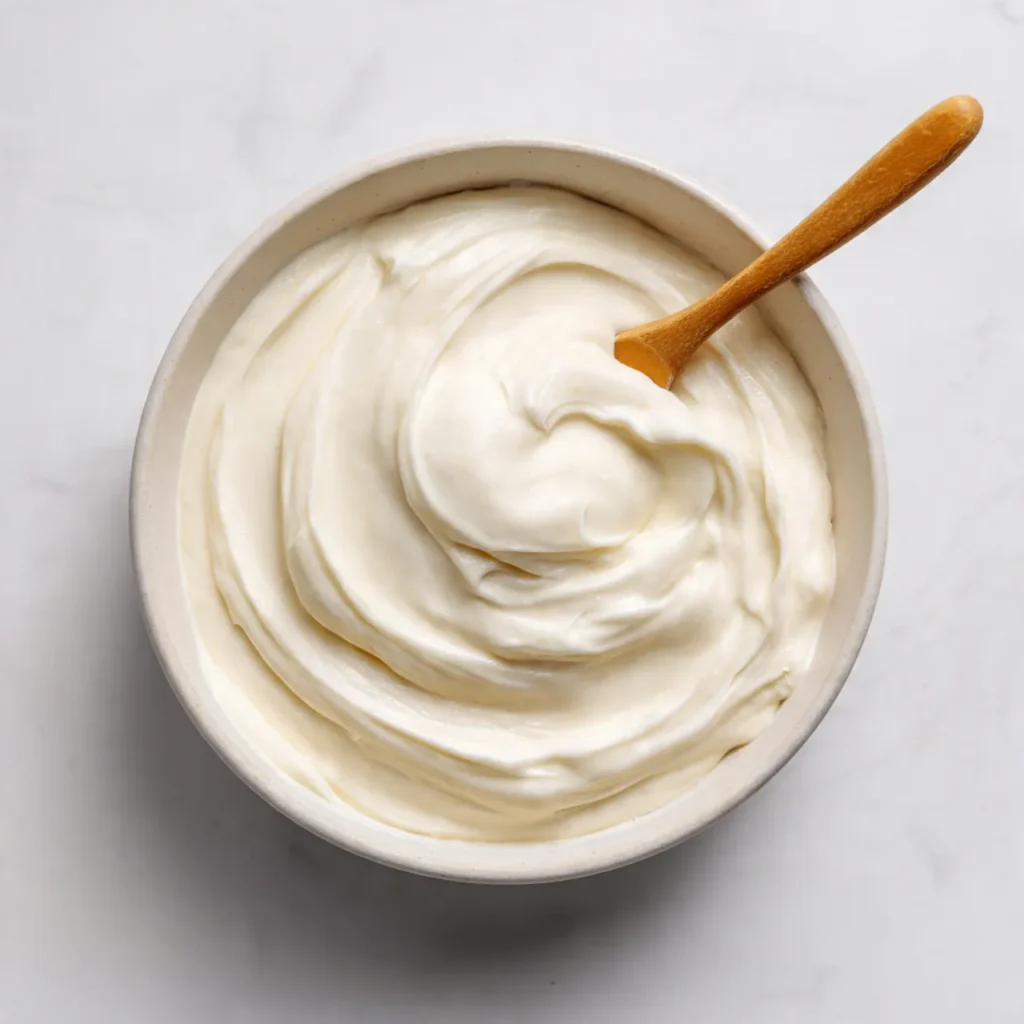
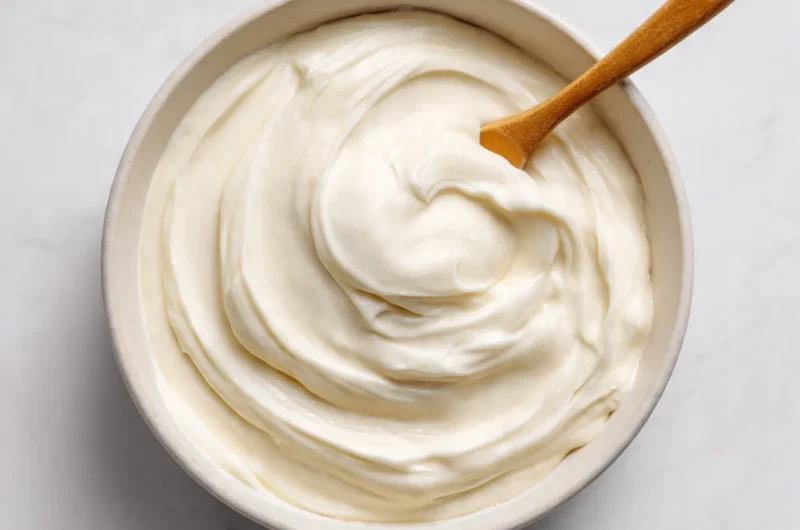
Step 4: Finishing & Final Simmer
Let the icing rest for about five minutes so bubbles settle and the texture evens out. Give it one final gentle stir. It should look shiny and feel soft, ready to spread or drizzle over cookies.
Why This Recipe Works for Busy Days
This icing comes together in minutes, with no special tools or long cleanup. You can make it while cookies cool or even the next day. It stores well, so decorating can happen later when you actually have time, making it ideal for busy schedules.
Tips & Tricks
- Mix slowly at first to avoid air bubbles, which can leave tiny holes once the icing sets. Rushing this step is a common mistake. Gentle stirring keeps the surface smooth and helps the icing look clean on cookies.
- Always adjust thickness gradually. Adding too much liquid at once can make the icing runny fast. Small additions give you control and save you from starting over or adding lots of extra sugar.
- Cover the bowl with a damp cloth if you pause decorating. Icing dries quickly on the surface, and this simple trick keeps it workable without changing the texture.
- Test the icing on one cookie first. Let it sit for a few minutes to see how it sets. This helps you avoid finishing a whole batch only to realize it’s too thin or too stiff.
Variations
- Meaty version: For cookie platters served alongside savory snacks, add a pinch of flaky salt to the icing. The subtle contrast works surprisingly well and balances sweet cookies when paired with hearty, savory foods.
- Vegetarian option: This icing is naturally vegetarian, but you can also use plant-based milk like almond or oat milk. Start with less, as these are thinner than dairy milk and change consistency quickly.
- Ingredient swap: Replace corn syrup with honey or maple syrup for a softer set and mild flavor change. The icing will still shine, just with a slightly warmer sweetness that feels homemade.
- Flavor or herb boost: Add a drop of almond extract or a little citrus zest. These small additions give the icing personality without overpowering the cookies, perfect for seasonal baking.
Serving Suggestions
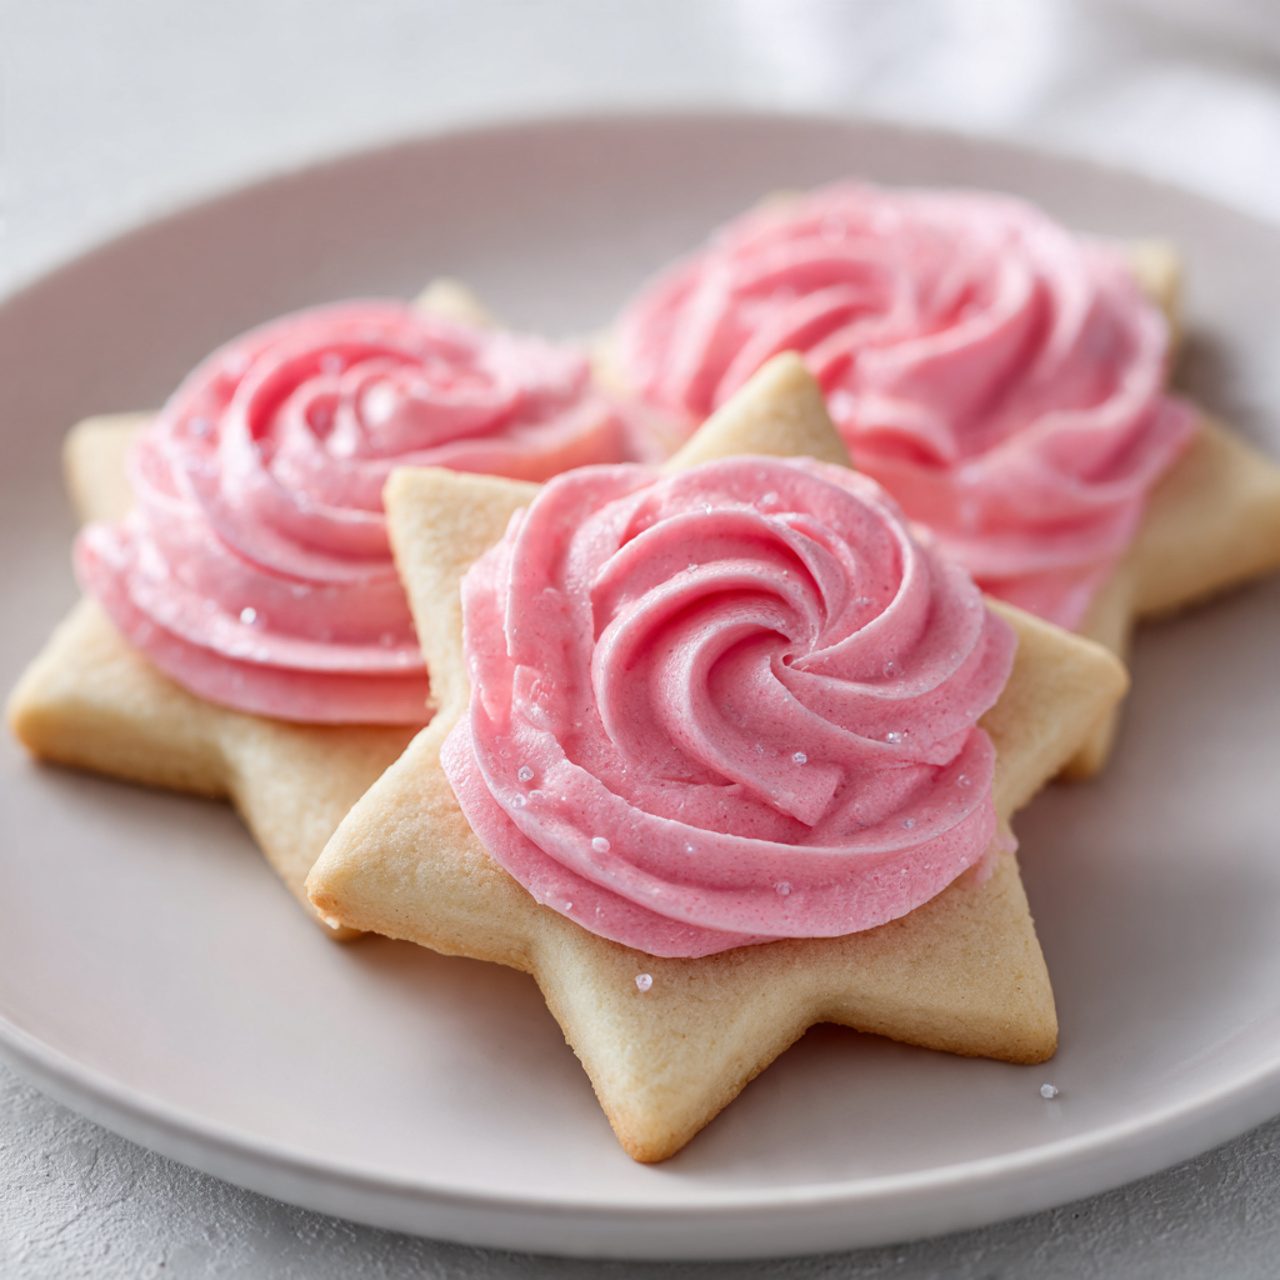
- Classic cookie tray: Arrange iced cookies on a simple platter with parchment paper underneath. It keeps things tidy and highlights the icing details without needing fancy decorations.
- Family decorating night: Serve plain cookies and bowls of icing with butter knives. It turns dessert into an activity and makes even simple designs feel special and shared.
- Gift boxes: Stack iced cookies with parchment between layers. The icing sets well enough to travel, making them easy to share with neighbors or friends.
- After-dinner treat: Pair iced cookies with tea or milk for a relaxed dessert. The soft icing adds just enough sweetness without feeling heavy.
Storage Instructions
- Fridge storage: Store leftover icing in an airtight container in the refrigerator for up to five days. Press plastic wrap directly onto the surface before sealing to prevent drying and crusting.
- Reheating: This icing doesn’t need heat. Let it come to room temperature, then stir gently. Add a few drops of milk if it feels stiff after chilling.
- Freezing: Freezing isn’t ideal, as the texture can separate when thawed. If you must freeze it, re-mix thoroughly and expect to adjust consistency before using.
- Make-ahead tips: Make the icing a day early and store it covered. Give it a good stir before decorating, saving time on busy baking days.
Recipe Timing
Prep Time: 10 minutes
Cook Time: 0 minutes
Rest Time: 5 minutes
Total Time: 15 minutes
Nutrition Information (Approximate)
Calories: 90–110 per serving
Protein: 0–1 g
Key nutrients include small amounts of calcium from milk and carbohydrates from sugar. Values are estimates and may vary based on ingredients used and portion size.
FAQs
Can I make this ahead of time?
Yes, store it covered in the fridge and stir before using.
Why is my icing too runny?
Too much liquid was added. Mix in more powdered sugar slowly.
Can I skip corn syrup?
Yes, use honey or maple syrup instead.
How do I thicken thin icing?
Add powdered sugar a tablespoon at a time.
How long does it last?
Up to five days refrigerated in an airtight container.
Can I change the flavor?
Yes, small amounts of extracts or zest work well.
Conclusion
This sugar cookie icing recipe is one of those simple kitchen staples that makes baking feel calm and rewarding. It’s easy to adjust, easy to store, and friendly for everyday decorating, whether you’re baking alone or with family. You can keep it classic, add color, or play with flavors depending on the season. Once you’ve used it a couple of times, it starts to feel familiar, like part of your regular baking rhythm. Save it, reuse it, and make it your own—the cozy kind of recipe that fits right into real life.
Sugar Cookie Icing Recipe
Course: Sugar Cookie Frosting24
servings10
minutes100
kcalA smooth, glossy icing that’s easy to mix and simple to use. Perfect for decorating sugar cookies with a soft set and homemade feel.
Ingredients
2 cups powdered sugar
2–3 tablespoons milk
1 tablespoon light corn syrup
1 teaspoon vanilla extract
Pinch of salt
Directions
- Sift powdered sugar into a bowl.
- Add milk, corn syrup, vanilla, and salt.
- Stir slowly until smooth and glossy.
- Adjust thickness with small amounts of milk or sugar.
- Let rest five minutes, then use on cooled cookies.