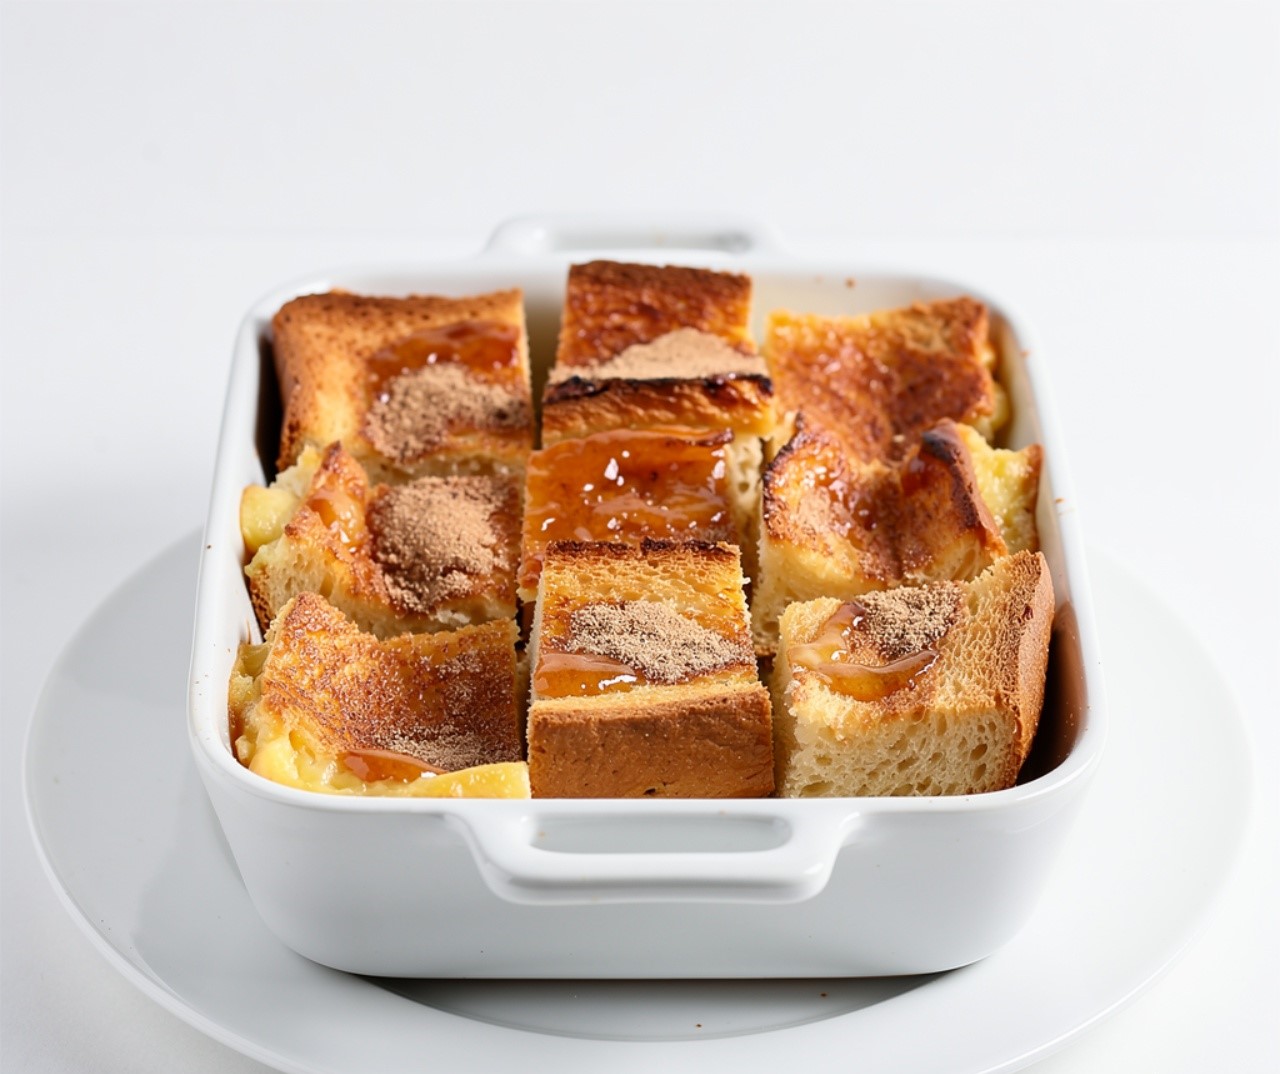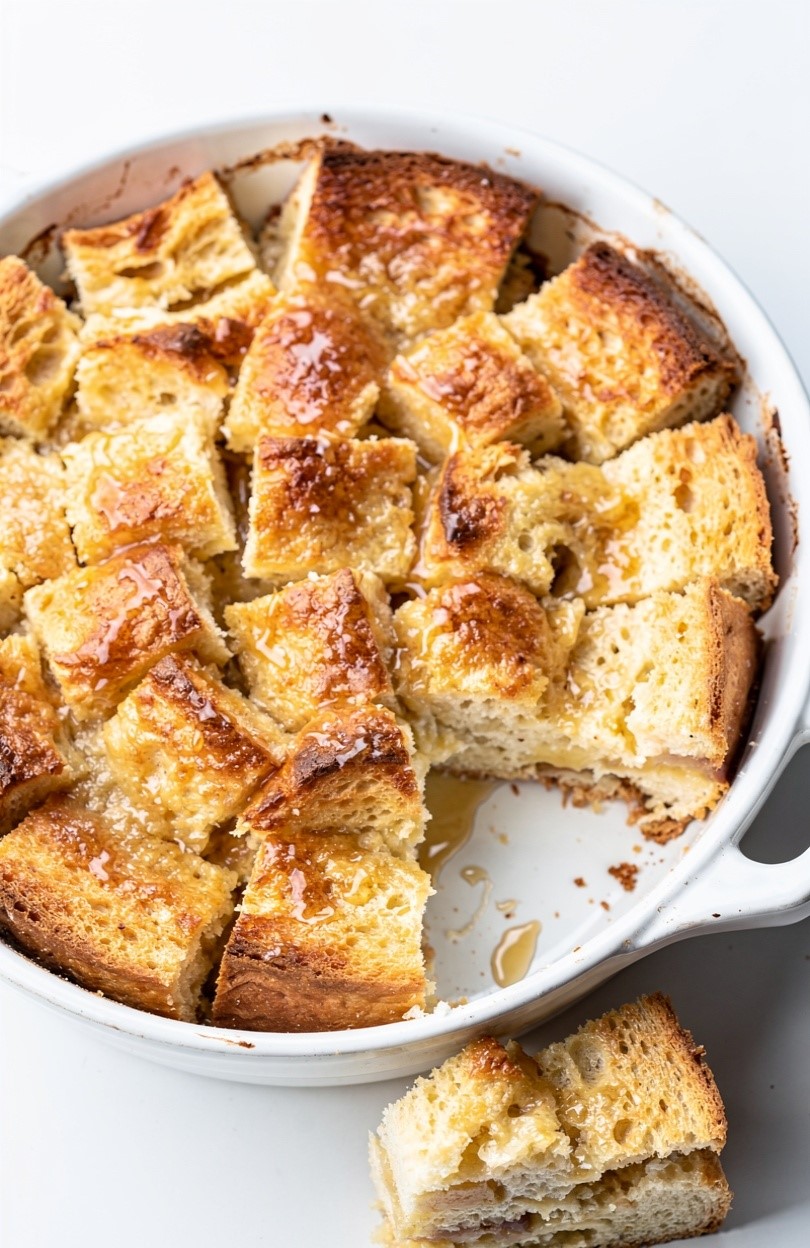
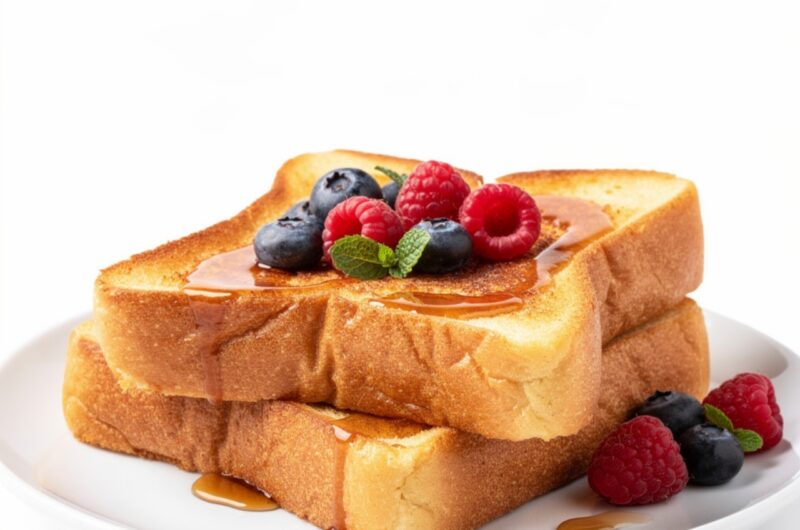
Vegan French Toast
French toast is usually known for eggs and milk, but this plant-based version keeps everything soft, warm, and comforting without them. It’s the kind of breakfast that feels cozy on slow mornings or even simple weeknight dinners when you want something easy and filling. The texture turns golden on the outside while staying tender inside, and it pairs well with simple toppings like fruit or syrup.
This vegan french toast is something I like to make when I want a quick comfort meal using basic pantry ingredients. It comes together fast, and the kitchen fills with a warm, sweet aroma that feels inviting and familiar.
Why You Will Love This Recipe
This recipe is simple, budget-friendly, and works with ingredients you probably already have at home. The texture is soft inside with a light golden crisp on the outside, making every bite feel comforting without being heavy. It’s also flexible, which means you can adjust sweetness, spices, or toppings based on what you enjoy.
The vegan french toast is great for busy mornings, cozy evenings, or even meal prep when you want something ready to reheat later. It’s freezer-friendly, quick to cook, and easy to scale for one person or a whole family. Leftover bread works perfectly here, so nothing goes to waste. The flavor stays warm and lightly sweet, making it a recipe you’ll want to keep on repeat for simple, relaxed meals.
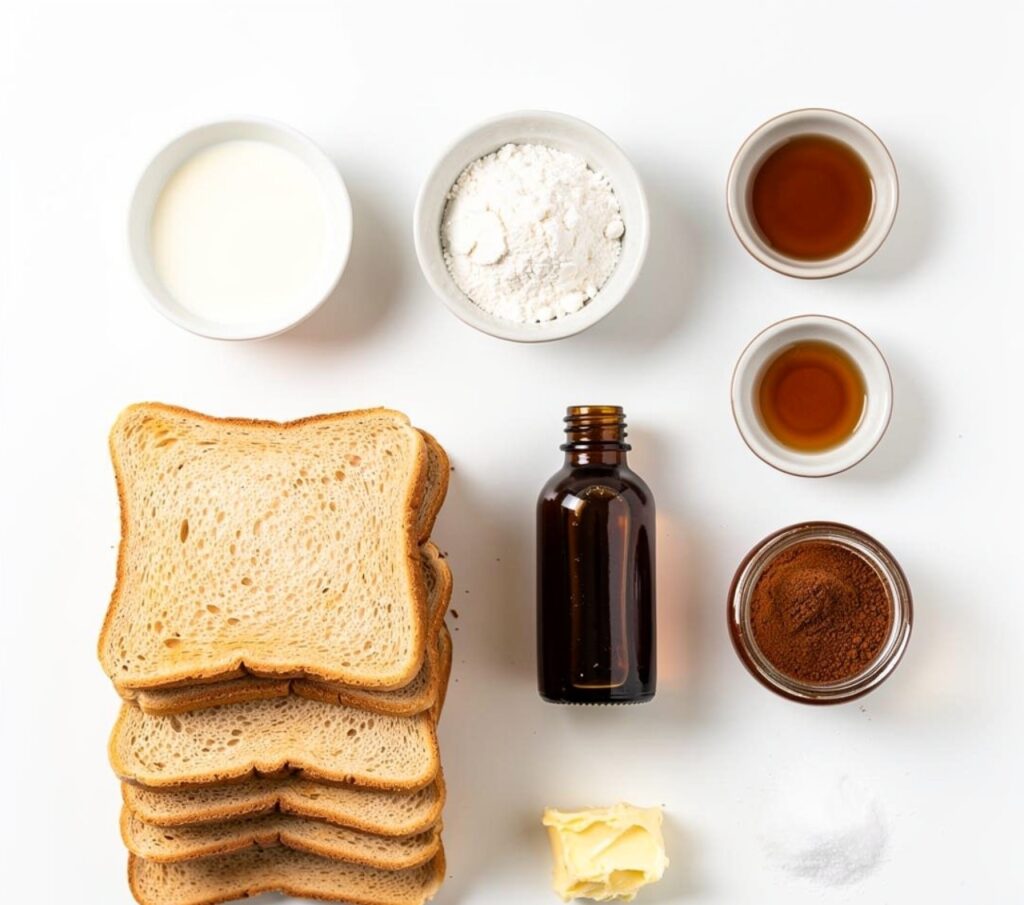
Ingredients
Use slightly thick or day-old bread so it holds the mixture without turning too soft.
- 4 slices bread (thick cut or sandwich bread)
- ¾ cup plant-based milk (almond, oat, or soy)
- 1 tablespoon cornstarch
- 1 tablespoon maple syrup or sugar
- 1 teaspoon vanilla extract
- ½ teaspoon cinnamon
- Pinch of salt
- 1–2 tablespoons oil or vegan butter (for cooking)
Instructions
Step 1: Preparation
In a wide bowl, add plant-based milk, cornstarch, maple syrup, vanilla, cinnamon, and a small pinch of salt. Whisk until the mixture looks smooth with no lumps. The texture should feel light but slightly thick. Place your bread slices nearby so they are ready to dip. The aroma should already feel warm and slightly sweet.
Step 2: Main Cooking Process
Heat a non-stick pan over medium-low heat and add a small amount of oil or vegan butter. Let it warm gently until it spreads evenly across the pan. The surface should look lightly glossy but not smoking. This gentle heat helps the toast cook evenly, giving a soft center with a light golden crust outside.
Step 3: Combining Ingredients
Dip each slice of bread into the mixture, letting it soak briefly on each side. It should feel coated but not falling apart. Lift it carefully and let extra liquid drip off. Place it into the warm pan, and you should hear a soft sizzle. The bread begins to firm up as it cooks.
Step 4: Finishing & Final Simmer
Cook each slice until the bottom turns golden brown, then flip gently. Cook the other side until evenly colored and slightly crisp at the edges. Press lightly to check softness inside. The center should stay tender and warm. Remove from the pan and serve immediately while the aroma is fresh and comforting.
Why This Recipe Works for Busy Days
This recipe is quick enough for mornings when time is short but still feels like a warm homemade meal. It uses simple pantry ingredients and cooks in just a few minutes per batch. You can also prepare the mixture ahead of time and store it in the fridge. It works well for leftovers and makes an easy option for meal prep or quick evening meals.
Tips & Tricks
- Use thicker bread slices because they hold the liquid mixture better. Thin bread can break or become too soft during cooking. Slightly stale bread works even better, giving a balanced texture that stays soft inside while still holding a light crust on the outside.
- Keep the heat at medium-low so the toast cooks evenly. High heat can burn the outside before the inside sets properly. A slower cook gives better control and helps the slices turn golden without drying out.
- Don’t over-soak the bread. A quick dip is enough to coat it. If it sits too long, it may fall apart in the pan and lose its structure, making it harder to flip and cook evenly.
- Adjust sweetness based on toppings. If you plan to use syrup or fruit, keep the mixture lightly sweet. This keeps the flavor balanced and prevents the toast from becoming too rich or overpowering.
Variations
- Meaty version
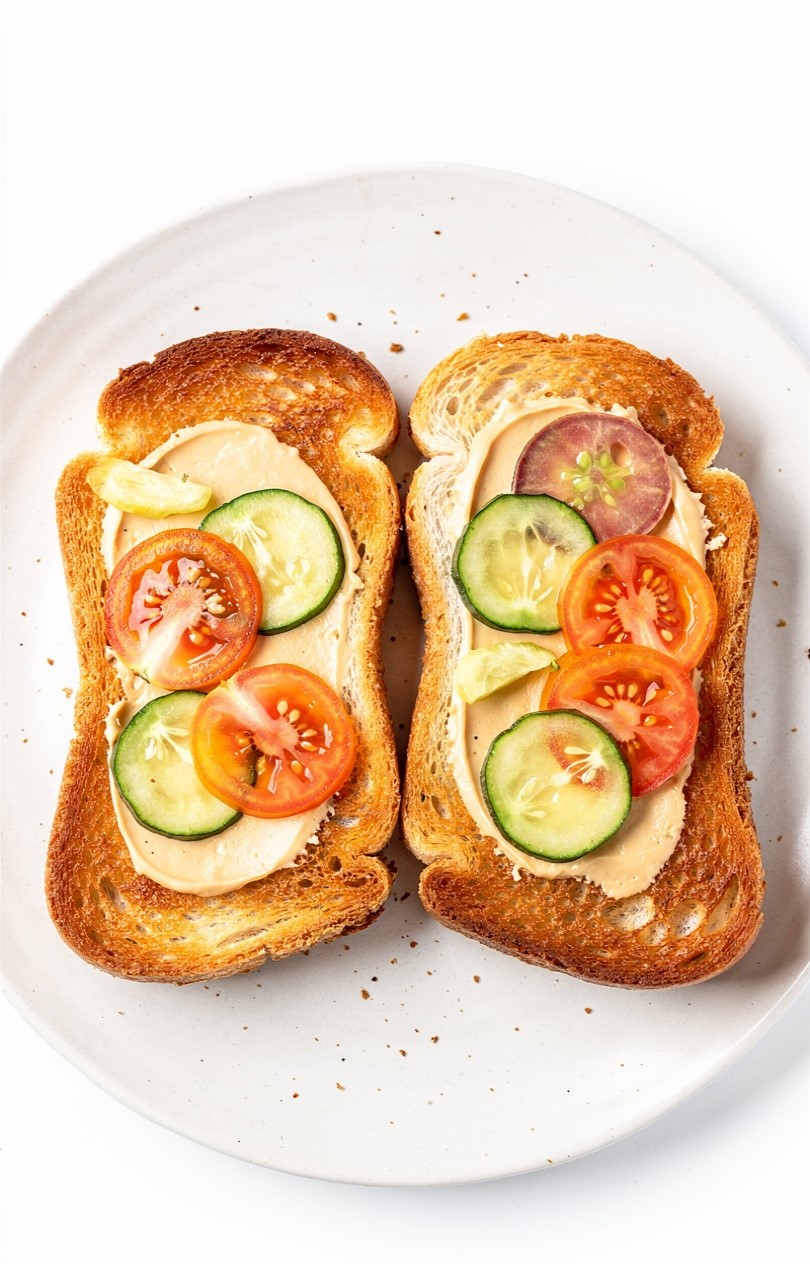
Add plant-based sausage or crispy vegan bacon on the side for a more filling meal. The savory element pairs nicely with the lightly sweet toast, creating a balanced plate that feels hearty and satisfying for breakfast or dinner. - Vegetarian option
Top with fresh fruits like bananas, berries, or sautéed apples. A drizzle of maple syrup adds natural sweetness. This version feels light, fresh, and perfect for a simple morning or afternoon meal. - Ingredient swap
Swap plant-based milk with coconut milk for a richer flavor or almond milk for a lighter taste. You can also replace maple syrup with agave or skip sweetener completely for a less sweet version. - Flavor or herb boost
Add nutmeg, orange zest, or a hint of cardamom to the mixture. These small additions bring warmth and depth to the flavor, making each bite more aromatic and slightly spiced without overpowering the dish.
Serving Suggestions
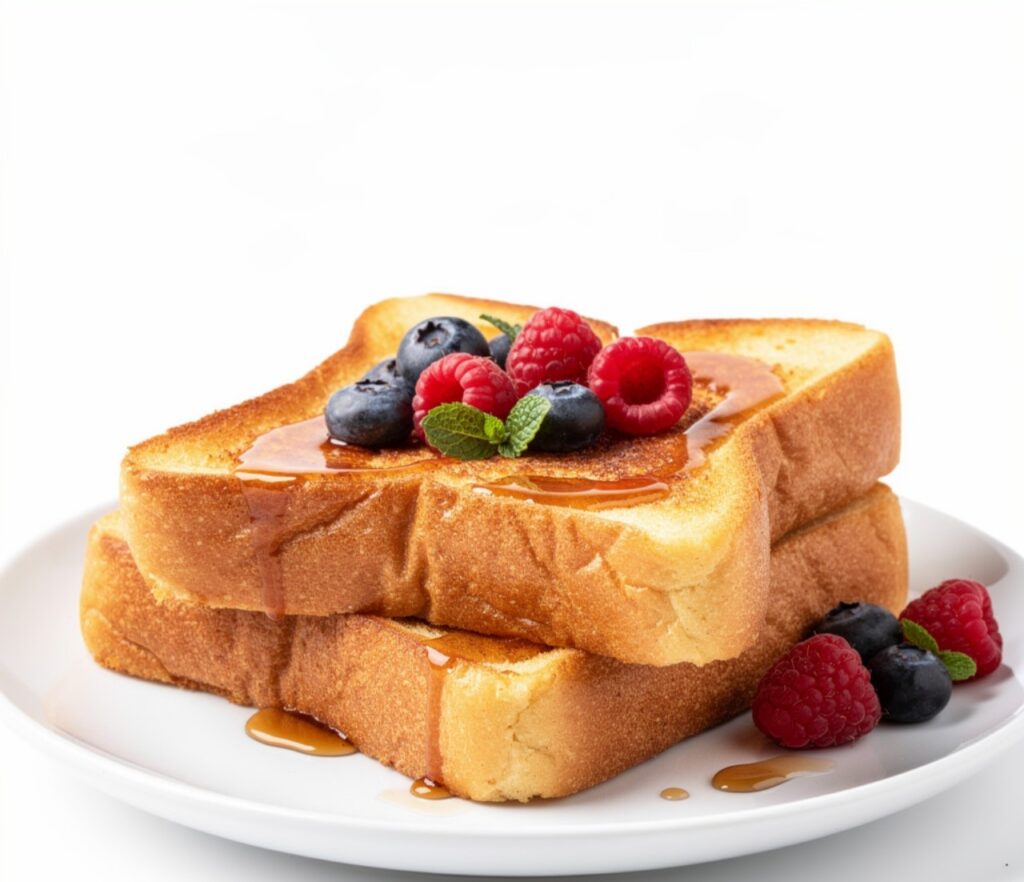
- Fresh Fruit Plate
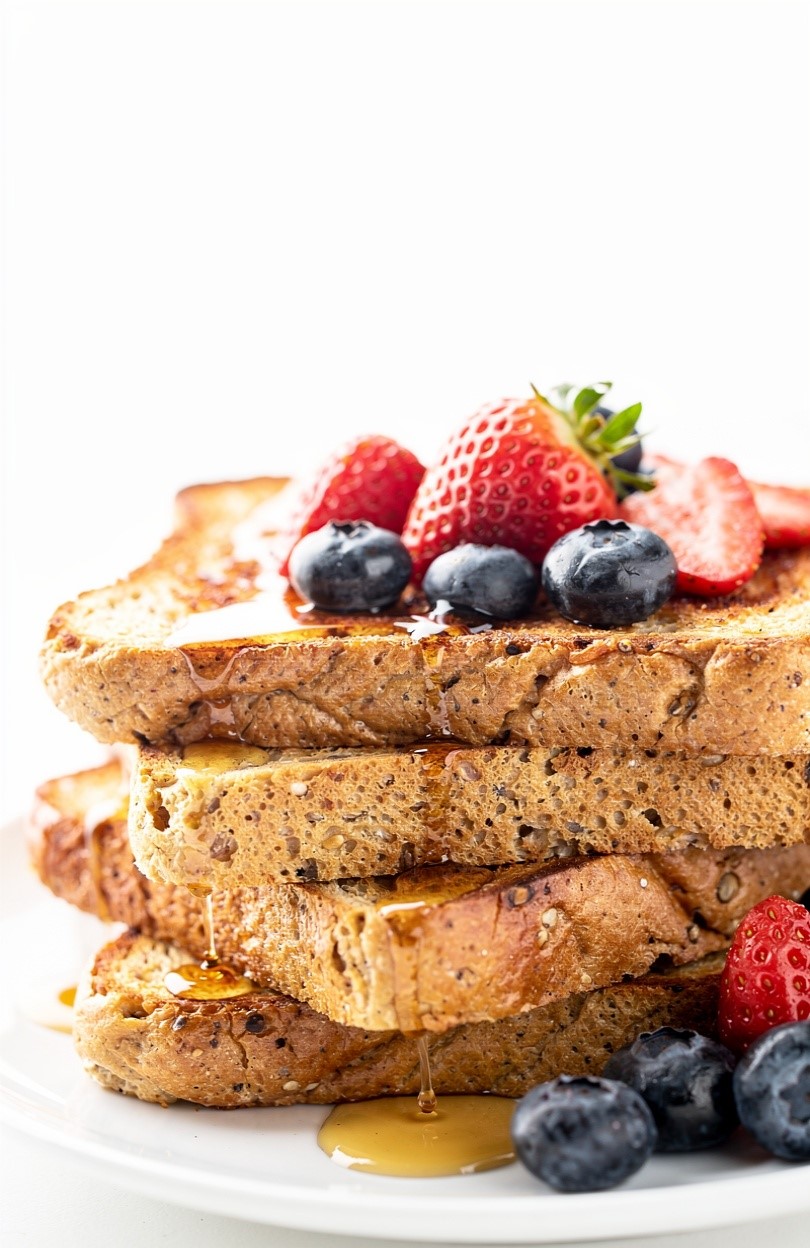
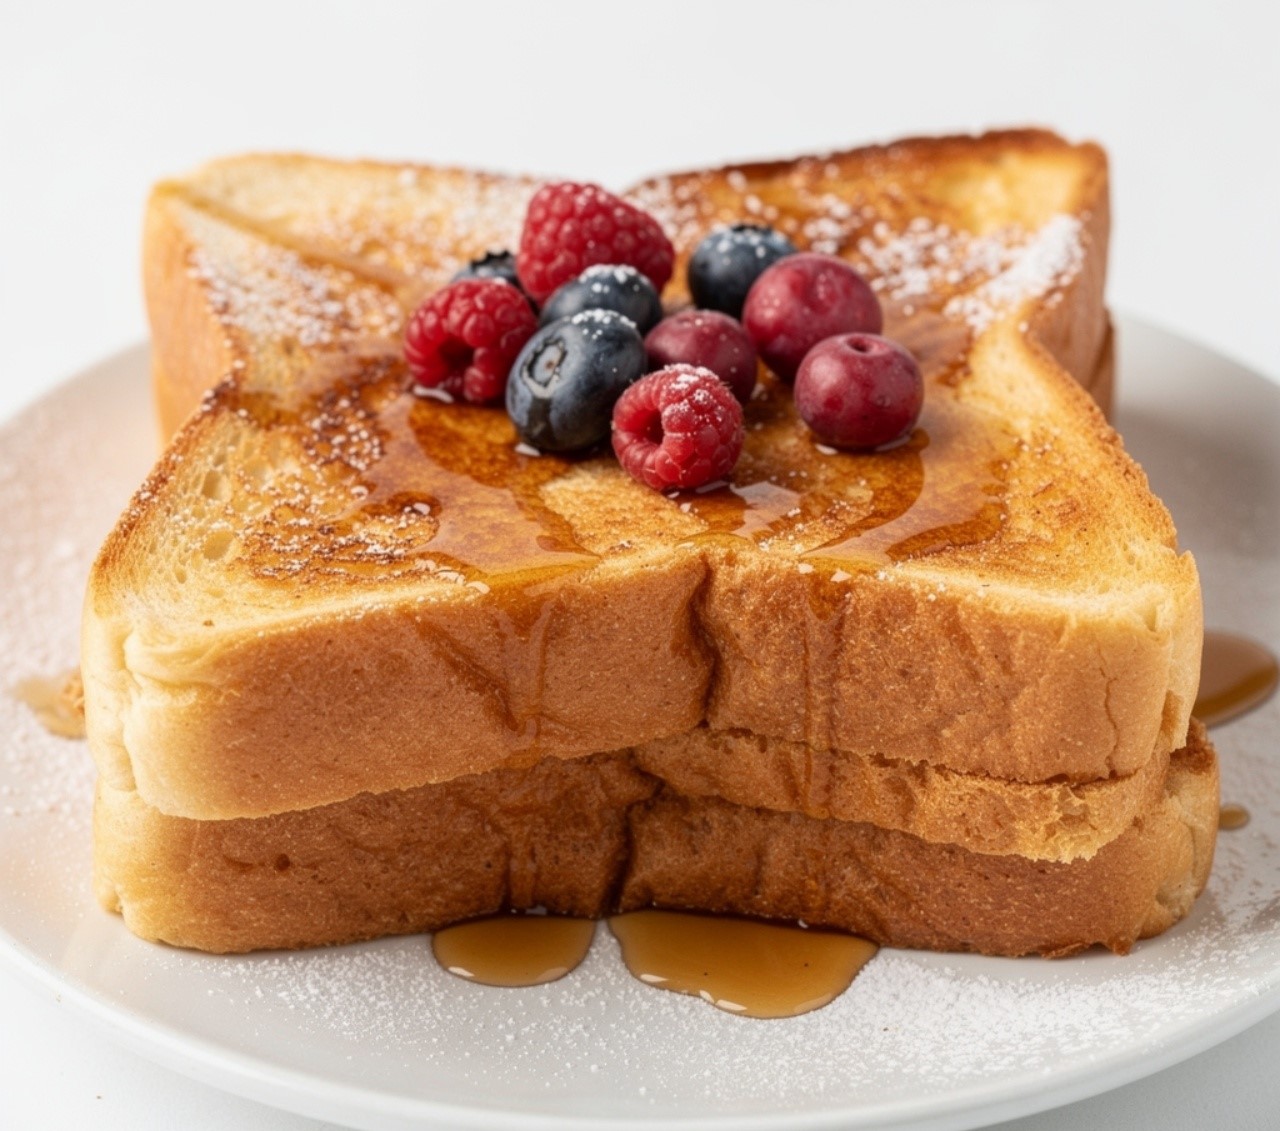
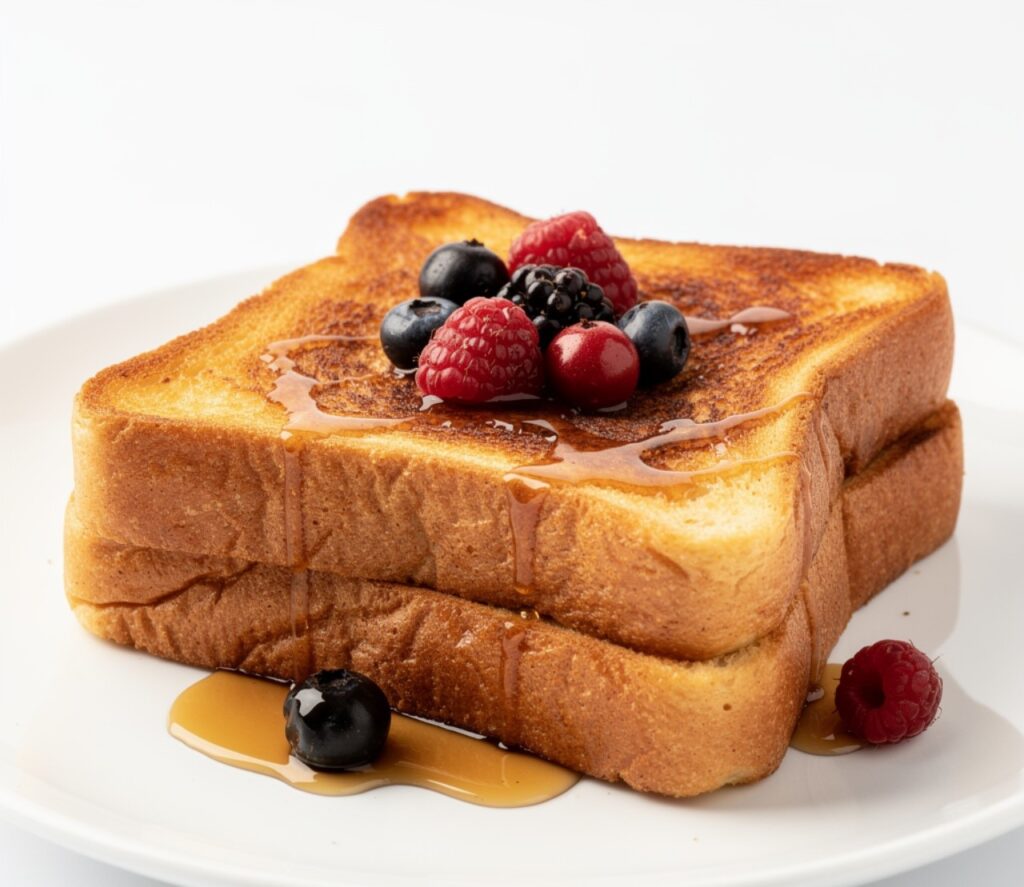
Serve with a side of sliced bananas, berries, or apples. The freshness balances the warm toast and adds natural sweetness. This makes a light breakfast or brunch plate that feels simple but complete. - Syrup Drizzle Style
Stack slices on a plate and drizzle with maple syrup. Add a light dusting of cinnamon for warmth. This creates a cozy, classic serving style that works well for slow mornings or relaxed evenings. - Nut Butter Spread
Serve with peanut butter or almond butter on the side. The creamy texture pairs nicely with the soft toast and adds extra richness, making it more filling for busy days or light meals. - Brunch Platter Setup
Arrange toast slices with fruits, nuts, and small bowls of syrup. This shared style presentation works well for family meals or casual gatherings where everyone can build their own plate.
Storage Instructions
- Fridge storage
Store cooled slices in an airtight container and place them in the fridge for up to 2 days. Separate layers with parchment paper to prevent sticking. This helps maintain softness while keeping flavor fresh for quick meals later. - Reheating
Reheat slices in a pan over low heat or in a toaster. Avoid high heat, which can dry them out. Gentle reheating restores warmth and keeps the inside soft while the edges stay lightly crisp. - Freezing
Freeze cooked slices in a single layer first, then transfer to a sealed bag. They can be stored for up to 1 month. Reheat directly from frozen for a quick breakfast option without extra prep. - Make-ahead tips
You can prepare the liquid mixture the night before and store it in the fridge. In the morning, simply dip and cook. This saves time and makes breakfast easier on busy days.
Recipe Timing
Prep Time: 10 minutes
Cook Time: 10–12 minutes
Rest Time: 0 minutes
Total Time: 20–22 minutes
Nutrition Information
Each serving contains approximately 160–220 calories depending on bread and toppings used. Protein ranges from 3–6 grams per serving, mainly from plant-based milk. It also provides small amounts of calcium and fiber. These values are estimates and may vary based on ingredients, portion sizes, and toppings.
FAQs
Can I make it ahead of time?
Yes, you can prepare the mixture in advance and cook fresh slices when needed.
What is the most common mistake?
Soaking bread too long, which makes it too soft to handle.
Can I use any plant-based milk?
Yes, almond, oat, or soy milk all work well.
Why is my toast not crispy?
The heat may be too low or the pan too crowded.
How do I store leftovers?
Keep in the fridge in an airtight container for up to 2 days.
Can I adjust sweetness?
Yes, reduce or increase sweetener depending on your toppings.
Conclusion
This is one of those recipes that fits into everyday life without any effort. It’s soft, warm, and easy to adjust depending on what you have at home. You can keep it simple or make it richer with toppings, and it still feels comforting every time. It works well for breakfast, lunch, or even a light dinner when you want something quick but homemade. This vegan french toast is the kind of recipe you can return to again and again because it stays simple, flexible, and reliably cozy without needing anything complicated in the kitchen.
Vegan French Toast
Course: Breakfast Toast Recipes2
servings10
minutes10
minutes300
kcalSoft and golden plant-based French toast made with simple pantry ingredients. Lightly sweet, cozy, and perfect for quick breakfasts, relaxed brunch, or easy evening meals.
Ingredients
4 slices bread
¾ cup plant-based milk
1 tbsp cornstarch
1 tbsp maple syrup
1 tsp vanilla extract
½ tsp cinnamon
Pinch of salt
1–2 tbsp oil or vegan butter
Directions
- Whisk plant-based milk, cornstarch, sweetener, vanilla, cinnamon, and salt.
- Heat pan over medium-low heat with oil or vegan butter.
- Dip bread slices briefly in mixture.
- Cook until golden brown on both sides.
- Serve warm with toppings of choice.