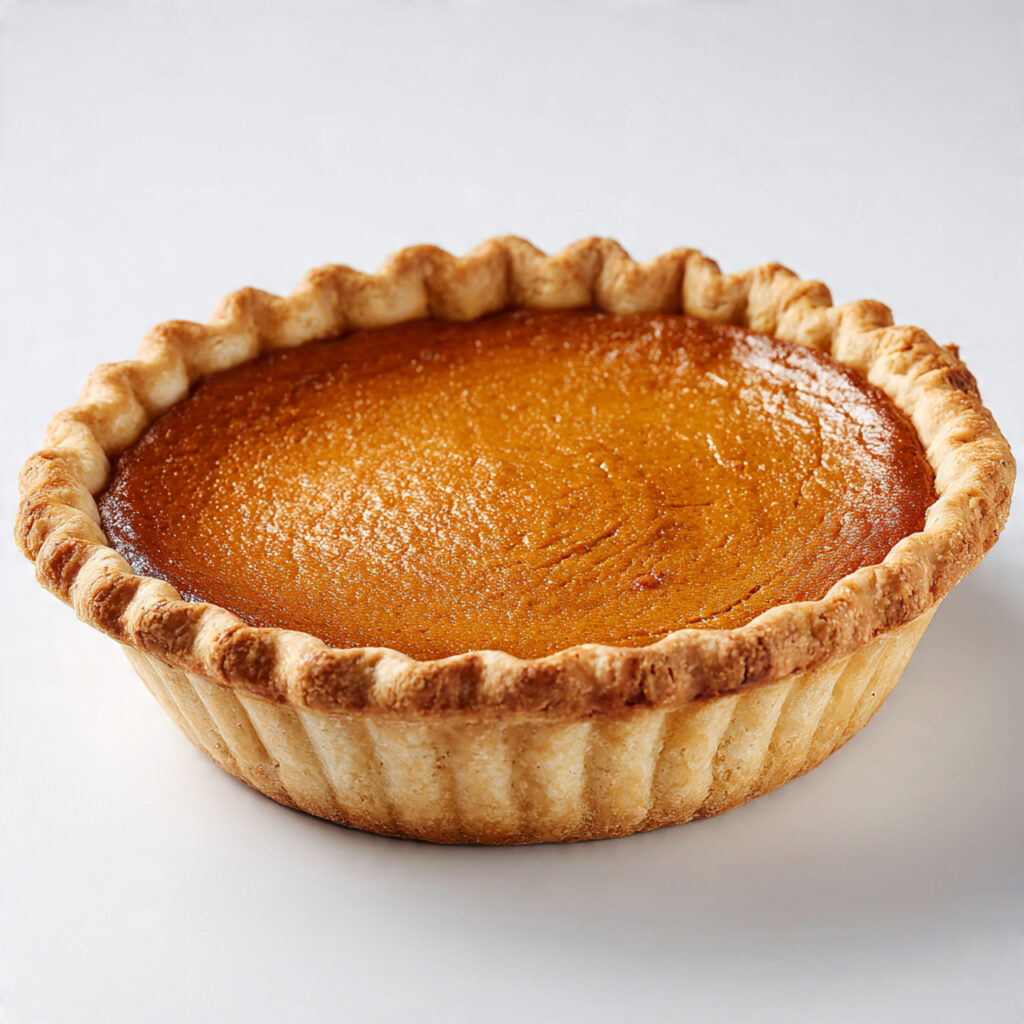
Pumpkin Pie Recipe
There’s something comforting about pulling a golden pie from the oven and letting it cool on the counter while the kitchen smells like cinnamon and warm spice. This pumpkin pie recipe is smooth, gently sweet, and baked in a flaky crust that slices beautifully. It’s the kind of dessert that feels right at home on a holiday table but is simple enough for an ordinary Sunday dinner. I usually whisk the filling together while the oven preheats, and it comes together without any complicated steps. Whether you’re baking for family, friends, or just because it’s a cold evening, this pie always feels like a cozy choice.
Why You Will Love This Recipe
This pie is creamy without being too heavy and sweet without overpowering the warm spices. The filling is made with simple pantry ingredients, so you don’t need anything fancy to make it taste special. It’s budget-friendly and easy to prepare ahead of time, which helps when you’re planning a busy week or hosting a gathering.
If you’re looking for a cozy, crowd-pleasing dessert, this pumpkin pie recipe checks all the boxes. It’s freezer-friendly, slices neatly, and tastes just as good the next day. You can dress it up with whipped cream or keep it simple and classic. The texture stays smooth and soft, and the flavor feels familiar in the best way. It’s the kind of recipe you’ll want to keep saved for every fall and winter baking season.
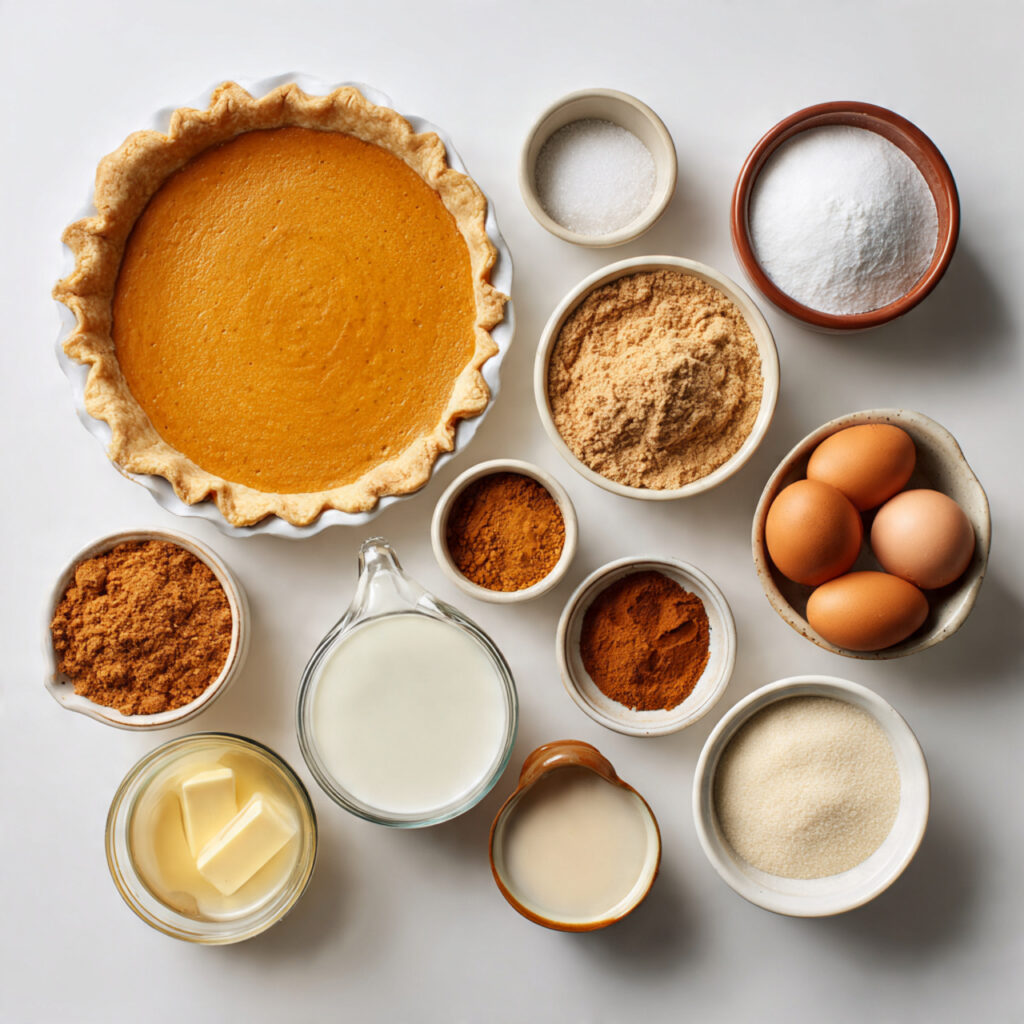
Ingredients
Use pure canned pumpkin purée for the smoothest filling and best flavor.
- 1 unbaked 9-inch pie crust
- 1 1/2 cups pumpkin purée
- 3/4 cup granulated sugar
- 1/2 cup brown sugar
- 2 large eggs
- 1 cup evaporated milk
- 1 teaspoon vanilla extract
- 1 1/2 teaspoons pumpkin pie spice
- 1/2 teaspoon ground cinnamon
- 1/4 teaspoon salt
Instructions
Step 1: Preparation
Preheat your oven to 375°F. Place the unbaked pie crust into a 9-inch pie dish and gently press it into the edges. Crimp the top if desired. In a large bowl, whisk the pumpkin, sugars, and eggs until smooth.
Step 2: Main Cooking Process
Add the evaporated milk, vanilla, spices, and salt to the bowl. Whisk until the filling looks creamy and evenly blended. The mixture should be smooth and slightly thick with a warm, spiced aroma.
Step 3: Combining Ingredients
Carefully pour the filling into the prepared crust, filling it almost to the top. Gently tap the pie dish on the counter to release any air bubbles and help the filling settle evenly.
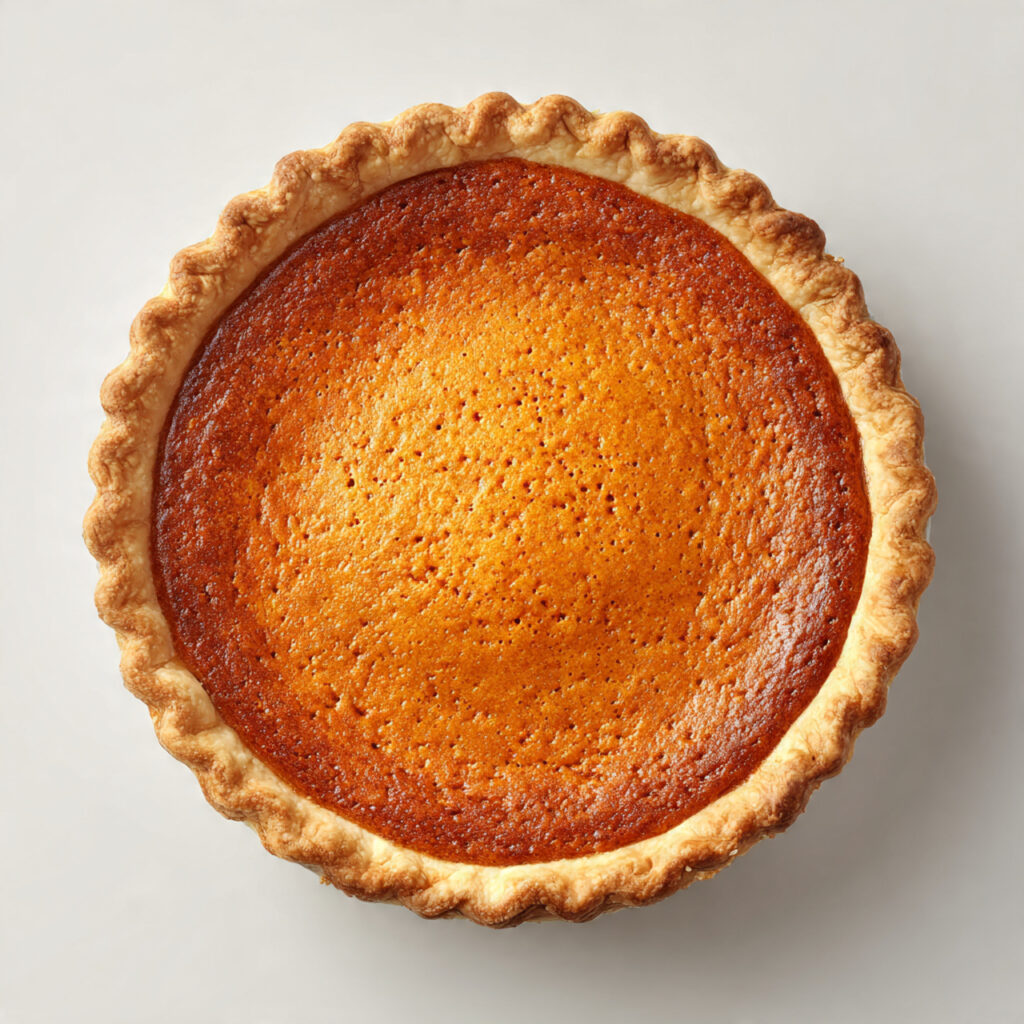
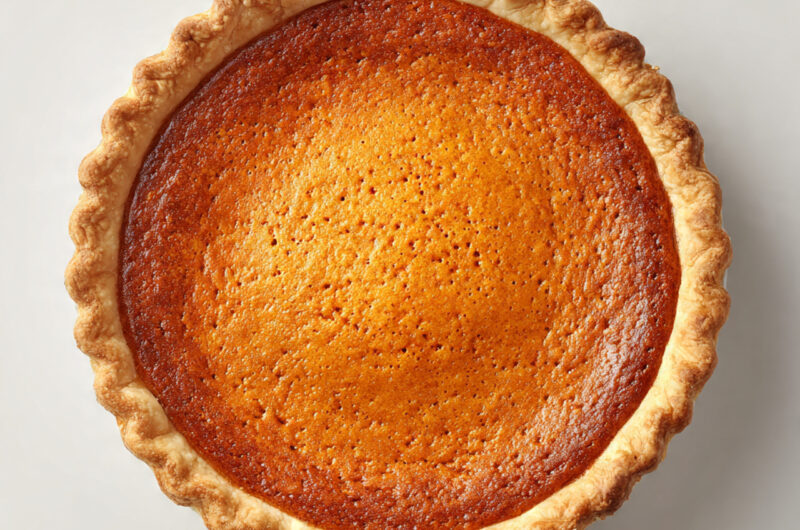
Step 4: Finishing & Final Simmer
Bake for 45–50 minutes, until the edges are set and the center has a slight jiggle. Remove from the oven and let the pie cool completely at room temperature before slicing so the filling firms up.
Why This Recipe Works for Busy Days
This pie can be made a day ahead, which takes pressure off when you’re planning meals for family gatherings. The filling mixes together quickly, and while it bakes, you’re free to focus on other dishes. It stores well and tastes even better after chilling. For Pinterest savers who like planning ahead, this is a dependable dessert to keep on hand for busy weeks and special dinners alike.
Tips & Tricks
- To prevent a soggy crust, place the pie dish on a lower oven rack. This helps the bottom cook evenly. If your crust browns too quickly on top, loosely cover the edges with foil halfway through baking.
- Avoid overbaking. The center should still have a gentle wobble when you take it out. If you wait until it looks completely firm in the oven, it may crack as it cools.
- Let the pie cool fully before slicing. Cutting too early can cause the filling to spill and look messy. Cooling allows the custard-like texture to set properly for clean slices.
- If you want extra flavor, toast your spices briefly in a dry pan before mixing. Just a few seconds releases their aroma and deepens the warm, cozy taste without changing the recipe.
Variations
- Meaty Version
For a sweet-and-savory twist, sprinkle a small amount of finely crumbled cooked bacon over the top before serving. The salty contrast pairs surprisingly well with the creamy filling and warm spices. - Vegetarian Option
This pie is naturally vegetarian. Just make sure your pie crust is made without animal fats if needed. Many store-bought and homemade crusts can easily fit vegetarian preferences. - Ingredient Swap
You can substitute heavy cream for evaporated milk if that’s what you have on hand. The texture will be slightly richer but still smooth and sliceable. - Flavor Boost
Add a tablespoon of maple syrup to the filling for deeper sweetness. A pinch of ground ginger or cloves can also enhance the spice profile if you enjoy stronger fall flavors.
Serving Suggestions
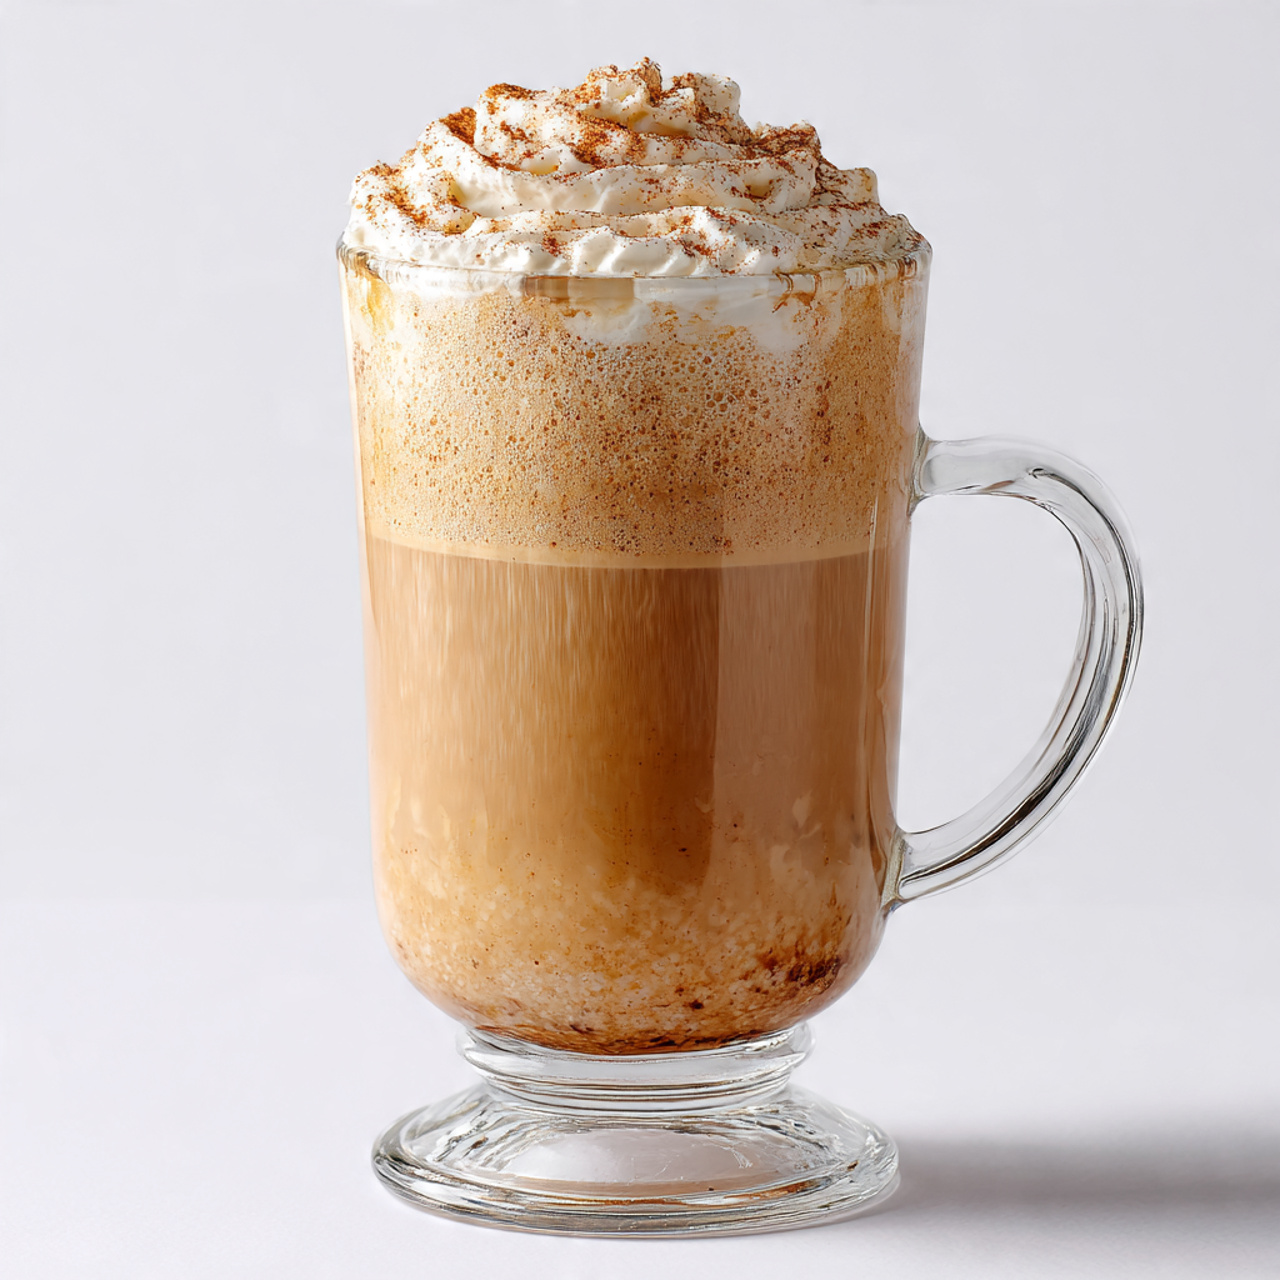
- Classic with Whipped Cream
Top each slice with a generous spoonful of freshly whipped cream. The light, airy texture balances the creamy filling and makes each bite feel extra comforting. - With Vanilla Ice Cream
Serve slightly chilled pie with a scoop of vanilla ice cream. The contrast of cold ice cream and smooth pie creates a simple but cozy dessert plate. - Holiday Dessert Spread
Place the pie on a cake stand and surround it with small bowls of nuts or cinnamon sticks for a warm seasonal presentation that feels inviting and thoughtful. - After Sunday Dinner
Slice and serve with hot coffee or tea after a family meal. It’s an easy way to turn an ordinary evening into something that feels a little more special.
Storage Instructions
- Fridge Storage
Once cooled, cover the pie loosely with plastic wrap or foil and store in the refrigerator for up to four days. The filling stays smooth and flavorful when chilled properly. - Reheating
If you prefer it slightly warm, heat individual slices in the microwave for 10–15 seconds. Avoid overheating, as it can change the texture and make the filling too soft. - Freezing
Wrap the fully cooled pie tightly in plastic wrap and foil before freezing for up to two months. Thaw overnight in the refrigerator before serving. - Make-Ahead Tips
Bake the pie one day before serving and let it chill overnight. The flavors deepen slightly, and slicing becomes easier once fully set.
Recipe Timing
Prep Time: 15 minutes
Cook Time: 45–50 minutes
Rest Time: 2 hours cooling
Total Time: About 3 hours 5 minutes
Nutrition Information
Each slice contains approximately 250–320 calories, depending on crust and portion size. Protein ranges from 4–6 grams per serving. Pumpkin provides vitamin A, and eggs add small amounts of iron and calcium. Nutritional values are estimates and may vary based on ingredients and serving sizes.
FAQs
Can I make this pie ahead of time?
Yes, bake it one day in advance and refrigerate.
Why did my pie crack?
It may have been overbaked or cooled too quickly.
Can I use fresh pumpkin?
Yes, just make sure it is smooth and well-drained.
Why is my filling too soft?
It likely needs more cooling time to fully set.
How long does it last in the fridge?
Up to four days when covered properly.
How can I adjust the sweetness?
Reduce the sugar slightly or add more spice for balance.
Conclusion
This pumpkin pie recipe is one of those comforting bakes that never really goes out of style. It’s simple enough for a weeknight dessert but special enough for holidays and gatherings. The smooth filling, warm spices, and flaky crust come together in a way that feels familiar and welcoming. You can adjust the sweetness, play with the spices, or even make it ahead to save time. Once you try it, you’ll see how easy it is to bring this pie back to the table again and again. Keep it saved for the next cool evening when baking feels just right.
Pumpkin Pie Recipe
Course: Pumpkin Recipes8
servings15
minutes45
minutes250
kcalCreamy pumpkin filling baked in a flaky crust with warm fall spices.
Simple ingredients and easy steps make this pie perfect for any occasion.
Ingredients
1 unbaked 9-inch pie crust
1 1/2 cups pumpkin purée
3/4 cup granulated sugar
1/2 cup brown sugar
2 large eggs
1 cup evaporated milk
1 teaspoon vanilla extract
1 1/2 teaspoons pumpkin pie spice
1/2 teaspoon ground cinnamon
1/4 teaspoon salt
Directions
- Preheat oven to 375°F. Place pie crust in a 9-inch pie dish.
- In a bowl, whisk pumpkin, sugars, and eggs until smooth.
- Add evaporated milk, vanilla, spices, and salt. Mix well.
- Pour filling into prepared crust.
- Bake for 45–50 minutes until edges are set and center slightly jiggles.
- Cool completely before slicing and serving.