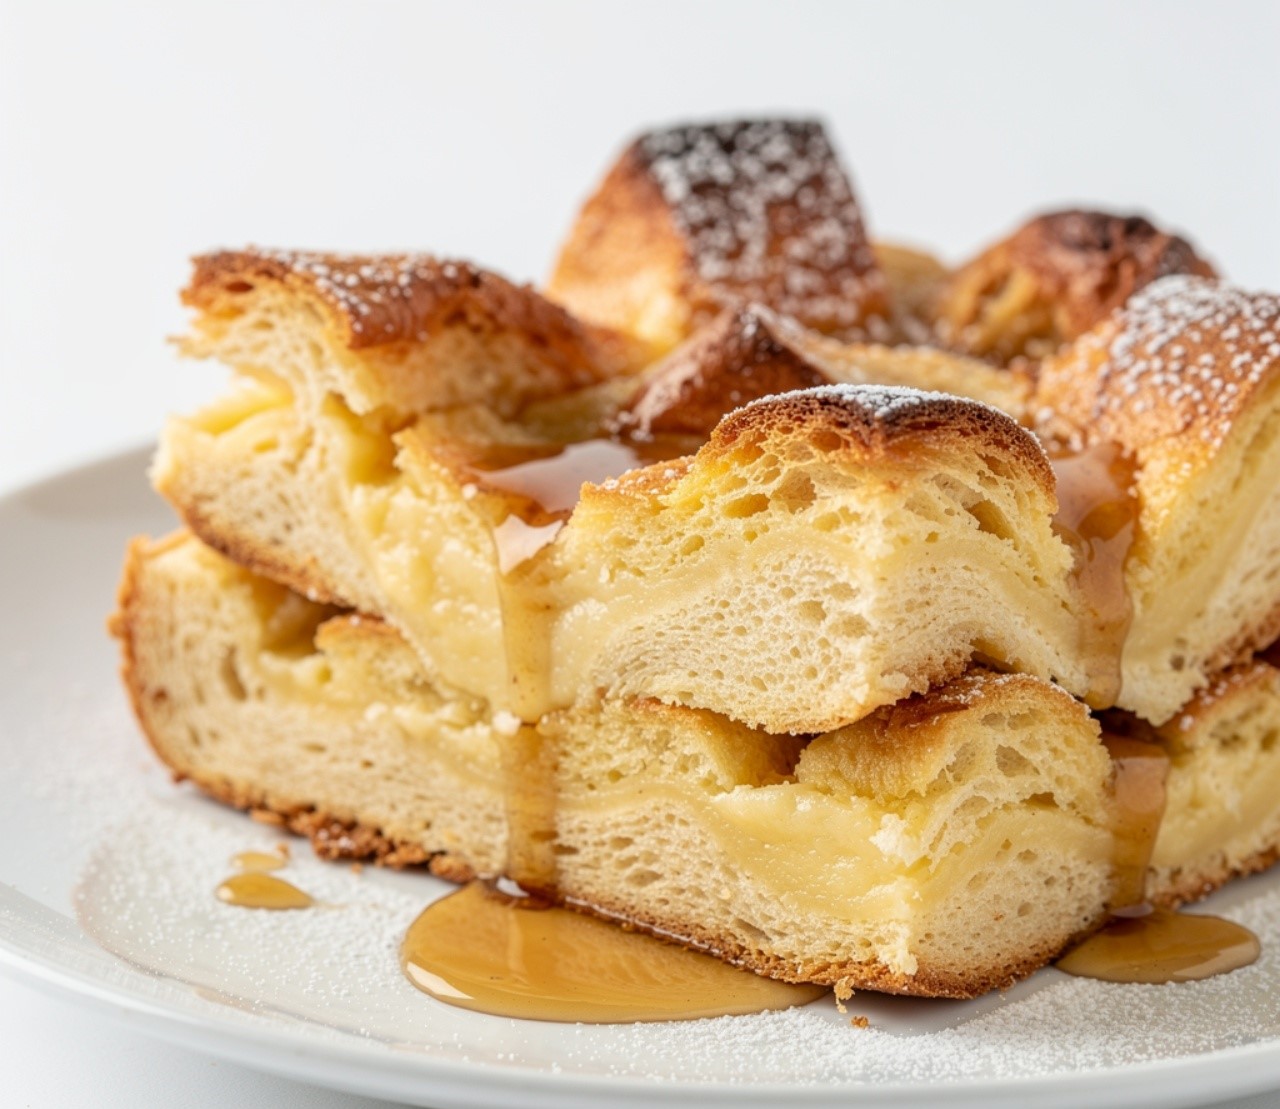
Toast Sandwich
A warm sandwich made with crisp toasted bread and simple fillings can turn an ordinary day into something comforting and satisfying. A toast sandwich is loved because it is easy to make, budget-friendly, and flexible enough for breakfast, lunch, or dinner. The crunchy bread paired with creamy spreads, melted cheese, or fresh vegetables creates a cozy meal that feels homemade without requiring much time in the kitchen. I usually toast the bread until deeply golden so every bite stays crisp and flavorful. Whether you need a quick meal after a busy day or something warm on a chilly evening, this recipe brings together familiar ingredients in the most comforting way.

Why You Will Love This Recipe
This recipe fits perfectly into busy schedules because it uses everyday ingredients and comes together quickly without complicated cooking steps. The crispy bread and warm filling create a cozy meal that feels satisfying while still being simple enough for weeknights. It is also easy to customize with different cheeses, vegetables, eggs, or spreads depending on what you already have at home.
Another reason people keep coming back to a toast sandwich is how practical it feels for real life. Leftovers can easily become fillings for the next day, and the recipe works well for quick lunches, easy dinners, or comforting late-night meals. It is budget-friendly, freezer-friendly with the right bread, and crowd-pleasing for both kids and adults. The mix of crisp texture and warm filling creates something comforting without needing a long ingredient list or extra kitchen effort.

Ingredients
Choose sturdy sandwich bread or sourdough slices so the sandwich stays crisp while cooking.
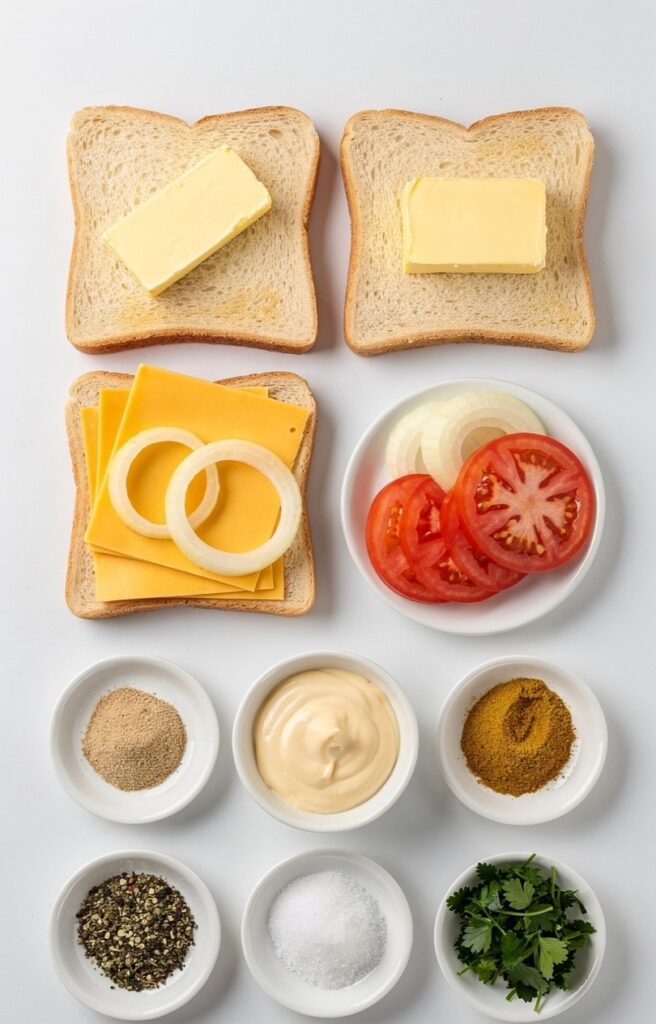
- 4 slices bread
- 2 tablespoons butter
- 4 slices cheddar cheese
- 1 tomato, thinly sliced
- 1/4 cup sliced onion
- 1 tablespoon mayonnaise
- 1 teaspoon mustard
- 1/2 teaspoon garlic powder
- 1/4 teaspoon black pepper
- Salt, to taste
- 1 tablespoon chopped parsley
Instructions
Step 1: Preparation
Lay the bread slices on a clean surface and spread mayonnaise and mustard evenly on two slices. Slice the tomato and onion thinly so the filling cooks evenly later. Butter the outside of each bread slice lightly to help the sandwich turn crisp and golden while cooking.
Step 2: Main Cooking Process
Heat a skillet over medium heat and place the sandwiches gently into the pan. The bread should slowly become golden with a buttery aroma filling the kitchen. Let the cheese begin melting while the edges of the bread turn crisp without cooking too quickly or becoming too dark.
Step 3: Combining Ingredients
Layer cheddar cheese, tomato slices, onions, garlic powder, salt, black pepper, and parsley between the bread slices. Press the sandwich lightly with a spatula so the filling stays balanced while cooking. The inside should become warm and soft while the outside remains crisp and deeply toasted.
Step 4: Finishing & Final Simmer
Cook the sandwiches for another minute on each side until the cheese is fully melted and the bread feels crunchy when pressed lightly. Remove from the skillet and let them rest briefly before slicing. The warm filling should stay creamy while the toast keeps its crisp texture.
Why This Recipe Works for Busy Days
This recipe works well for hectic days because everything cooks in one pan with very little prep. The ingredients are easy to keep on hand, and leftovers can quickly become another sandwich later in the week. Bread can also be frozen ahead for convenience, making this a reliable option for quick lunches, simple dinners, or comforting evening snacks when cooking energy feels low.
Tips & Tricks
- Use medium heat instead of high heat when cooking the sandwich. Bread can brown too quickly before the cheese melts properly inside. A slower cook gives the sandwich a crisp golden crust while keeping the filling warm, soft, and evenly heated all the way through.
- Avoid overfilling the sandwich with too many vegetables or sauces. Extra moisture can make the bread soft and difficult to toast evenly. Thin slices of tomato and onion work much better because they warm quickly without releasing too much liquid during cooking.
- Buttering the outside edges of the bread evenly helps the sandwich brown more consistently. Dry corners often stay pale and lose that crisp texture. Softened butter spreads more smoothly and creates an even golden surface without tearing the bread during preparation.
- Let the sandwich rest for a minute before slicing it in half. Cutting too early can cause the melted cheese and fillings to slide out immediately. A short resting time helps everything settle together while keeping the inside warm and creamy.
Variations
Meaty Version
Add sliced turkey, grilled chicken, or cooked beef strips for a heartier sandwich that works well for dinner. Thin cuts heat more evenly and blend nicely with melted cheese. Keeping the seasoning simple allows the toasted bread and creamy filling to stay balanced instead of becoming too heavy.
Vegetarian Option
Use sautéed mushrooms, spinach, or roasted peppers instead of meat for a warm vegetarian version. Cooking the vegetables first helps remove excess moisture and keeps the bread crisp during toasting. This variation pairs especially well with cheddar or mozzarella for extra creamy texture.
Ingredient Swap
Swap cheddar cheese for mozzarella, provolone, or pepper jack depending on your preference. Sourdough or whole grain bread can replace regular sandwich bread for a heartier texture. Greek yogurt can also be used instead of mayonnaise if you want a lighter spread with extra creaminess.
Flavor or Herb Boost
Fresh basil, parsley, or chives added right before serving bring extra freshness to the sandwich. A sprinkle of chili flakes or smoked paprika gives a little warmth without overpowering the other flavors. Garlic butter brushed on the bread also creates a richer toasted finish.
Serving Suggestions
- With Tomato Soup
Serve the sandwich alongside a warm bowl of tomato soup for a cozy and comforting meal. The crisp bread softens slightly when dipped into the soup, creating a rich and satisfying texture that works especially well on cooler evenings or rainy afternoons. - Simple Salad Plate
Pair the sandwich with a light green salad tossed in olive oil and lemon juice. The freshness of the greens balances the warm melted cheese and buttery toast nicely, helping the meal feel filling without becoming too heavy for lunch or dinner. - Breakfast Style
Add a fried or scrambled egg on the side for a hearty breakfast plate that feels warm and satisfying. Fresh fruit or roasted potatoes also work nicely with the sandwich and create a relaxed weekend breakfast that looks inviting on the table. - Family Snack Board
Cut the sandwiches into smaller halves or triangles and serve them with sliced vegetables, pickles, and dipping sauces for a casual snack board. This setup works especially well for family movie nights or quick weekend lunches with minimal extra preparation.
Storage Instructions
- Fridge Storage
Store leftover sandwiches in an airtight container in the refrigerator for up to two days. Let them cool fully before storing to avoid trapped steam softening the bread. Keeping parchment paper between sandwiches helps prevent them from sticking together during storage. - Reheating
Reheat the sandwich in a skillet or toaster oven instead of the microwave for the best texture. The microwave can soften the bread too much and make it chewy. Gentle reheating in a pan helps restore the crisp edges while warming the filling evenly. - Freezing
Wrap uncooked assembled sandwiches tightly in plastic wrap and freeze for up to one month. Cook directly from thawed for the best results. Avoid freezing sandwiches with watery vegetables because they can release moisture later and affect the bread texture. - Make-Ahead Tips
Prepare sliced vegetables and spreads ahead of time to speed up assembly during busy days. You can also pre-butter the bread and store it covered in the refrigerator for a few hours. Fresh assembly right before cooking keeps the sandwich tasting crisp and warm.
Recipe Timing
Prep Time: 10 minutes
Cook Time: 8 minutes
Rest Time: 1 minute
Total Time: 19 minutes
Nutrition Information
Each serving contains approximately 350–450 calories depending on the bread and cheese used. Protein ranges from 12–18 grams per serving from the cheese and optional fillings. This recipe also provides calcium, carbohydrates, and small amounts of fiber from vegetables and bread. Nutritional values are estimates and may vary based on ingredients and serving sizes.
FAQs
Can I make this ahead of time?
Yes, you can prepare the fillings ahead and assemble before cooking.
Why is my sandwich soggy?
Too many wet ingredients or low heat can soften the bread.
Can I use another type of cheese?
Yes, mozzarella, provolone, or Swiss cheese work well too.
How do I keep the bread crispy?
Cook over medium heat and avoid overfilling the sandwich.
How long can leftovers stay in the fridge?
They stay fresh for up to two days in a sealed container.
How can I add more flavor?
Try garlic butter, chili flakes, fresh herbs, or smoked paprika.
Conclusion
Simple recipes often become favorites because they fit naturally into everyday routines, and this sandwich is one of those meals people return to again and again. The crisp bread, melted cheese, and warm fillings create something comforting without requiring much time or planning. You can keep it simple for quick lunches or change the fillings depending on what is already in the kitchen. A toast sandwich works beautifully for cozy dinners, busy weekdays, or relaxed weekend meals when you want something homemade without extra effort. Once you start trying different toppings and cheeses, it easily becomes one of those recipes that always feels reliable, warm, and satisfying.

Toast Sandwich
Course: Breakfast Toast Recipes2
servings10
minutes8
minutes300
kcalThis warm and crispy sandwich is filled with melted cheese, fresh vegetables, and buttery toasted bread. It is simple to make, comforting to eat, and perfect for quick meals any time of the day.
Ingredients
4 slices bread
2 tablespoons butter
4 slices cheddar cheese
1 tomato, thinly sliced
1/4 cup sliced onion
1 tablespoon mayonnaise
1/2 teaspoon garlic powder
1 teaspoon mustard
1/4 teaspoon black pepper
Salt, to taste
1 tablespoon chopped parsley
Directions
- Spread mayonnaise and mustard on two bread slices.
- Butter the outside of all bread slices lightly.
- Add cheese, tomato, onion, garlic powder, salt, pepper, and parsley between the bread slices.
- Heat a skillet over medium heat.
- Place the sandwiches into the skillet and cook until golden on one side.
- Flip carefully and cook the other side until the cheese melts.
- Let the sandwiches rest briefly before slicing and serving.