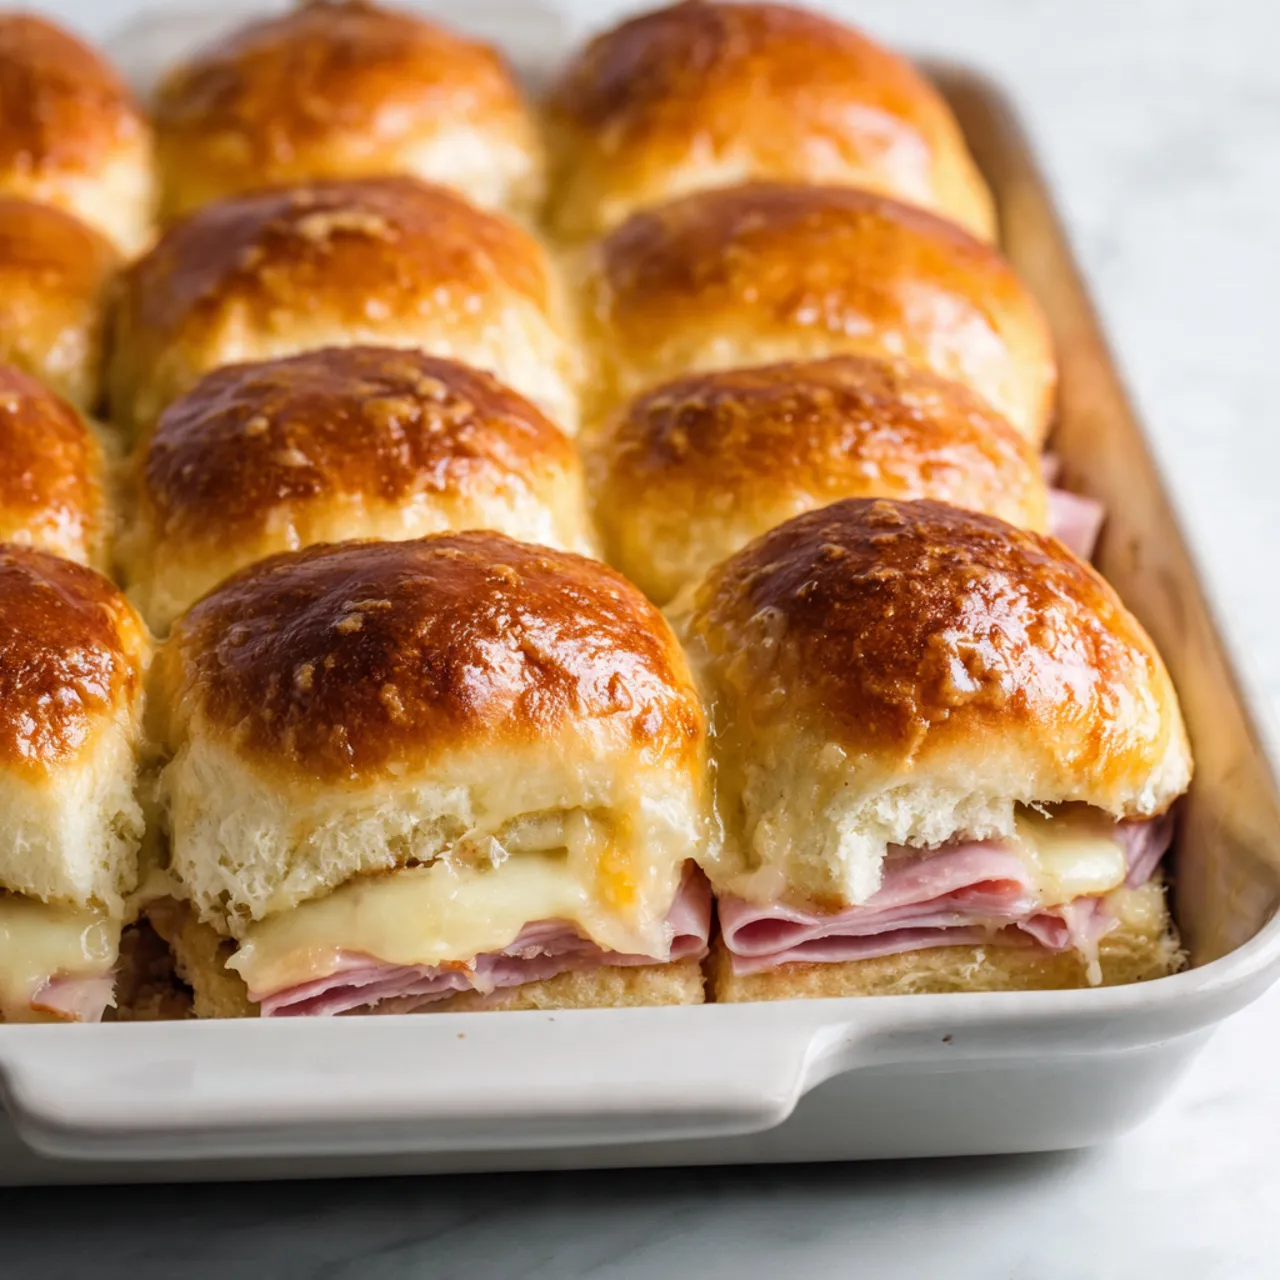
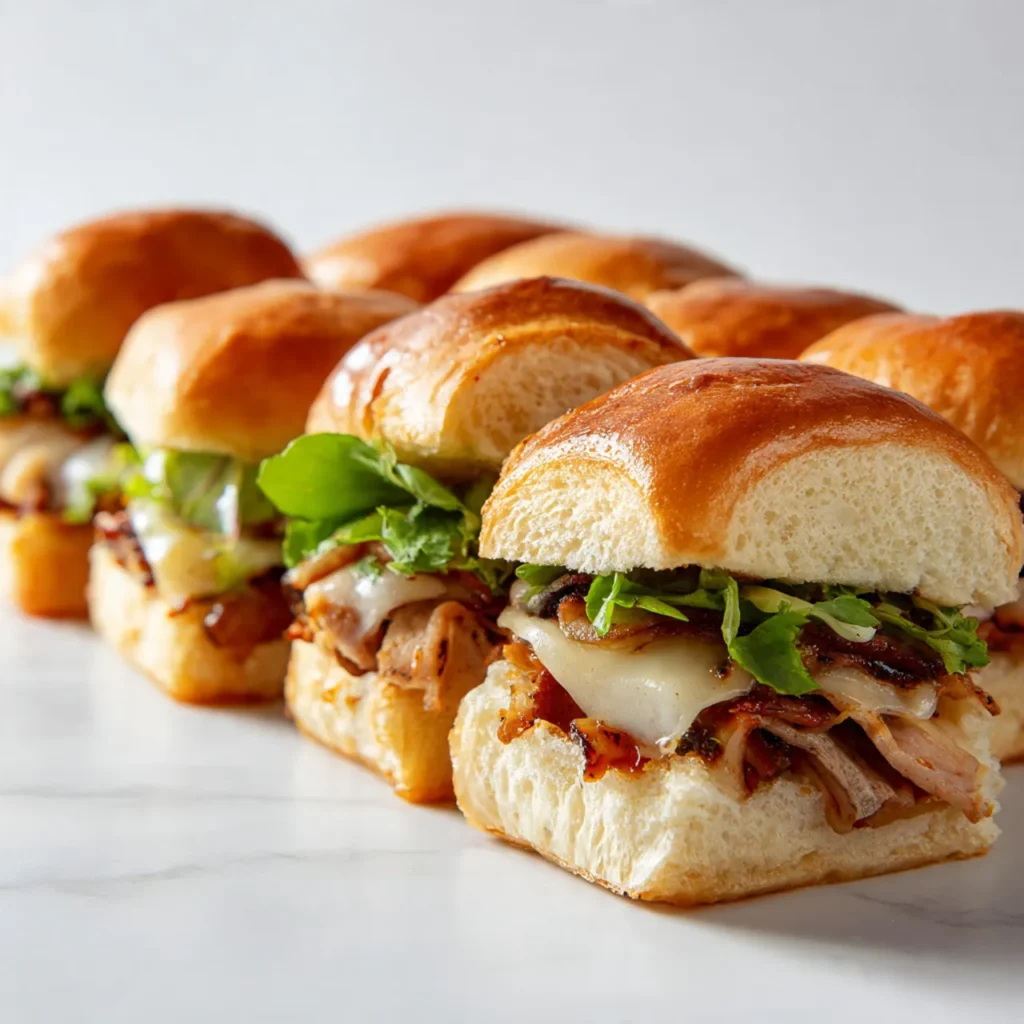
Sliders Recipe Hawaiian Rolls
Sliders made with soft, slightly sweet rolls are one of those recipes that quietly save busy days. They’re warm, filling, and easy to pull together without much planning. sliders recipes hawaiian rolls are especially loved because the bread stays fluffy while soaking up all the savory flavors inside. This is the kind of meal that works for rushed evenings, relaxed family dinners, or cold nights when turning on the oven feels comforting. I usually reach for this recipe when I want something homemade but not complicated. Everything bakes in one dish, fills the kitchen with a cozy smell, and comes out ready to share without extra effort.
Why You Will Love This Recipe
This recipe fits real life so well. The flavors are familiar and comforting, with a soft roll that balances savory fillings beautifully. It’s easy to assemble, even when you’re tired, and flexible enough to work with whatever you already have. These sliders are cozy, weeknight-friendly, freezer-friendly, and crowd-pleasing, which makes them perfect for saving and coming back to later. You can bake a full tray at once, enjoy leftovers the next day, or freeze a portion for future meals. sliders with Hawaiian rolls also keep costs low since they use simple ingredients and stretch well to feed a group. It’s dependable comfort food that feels thoughtful without being fussy.
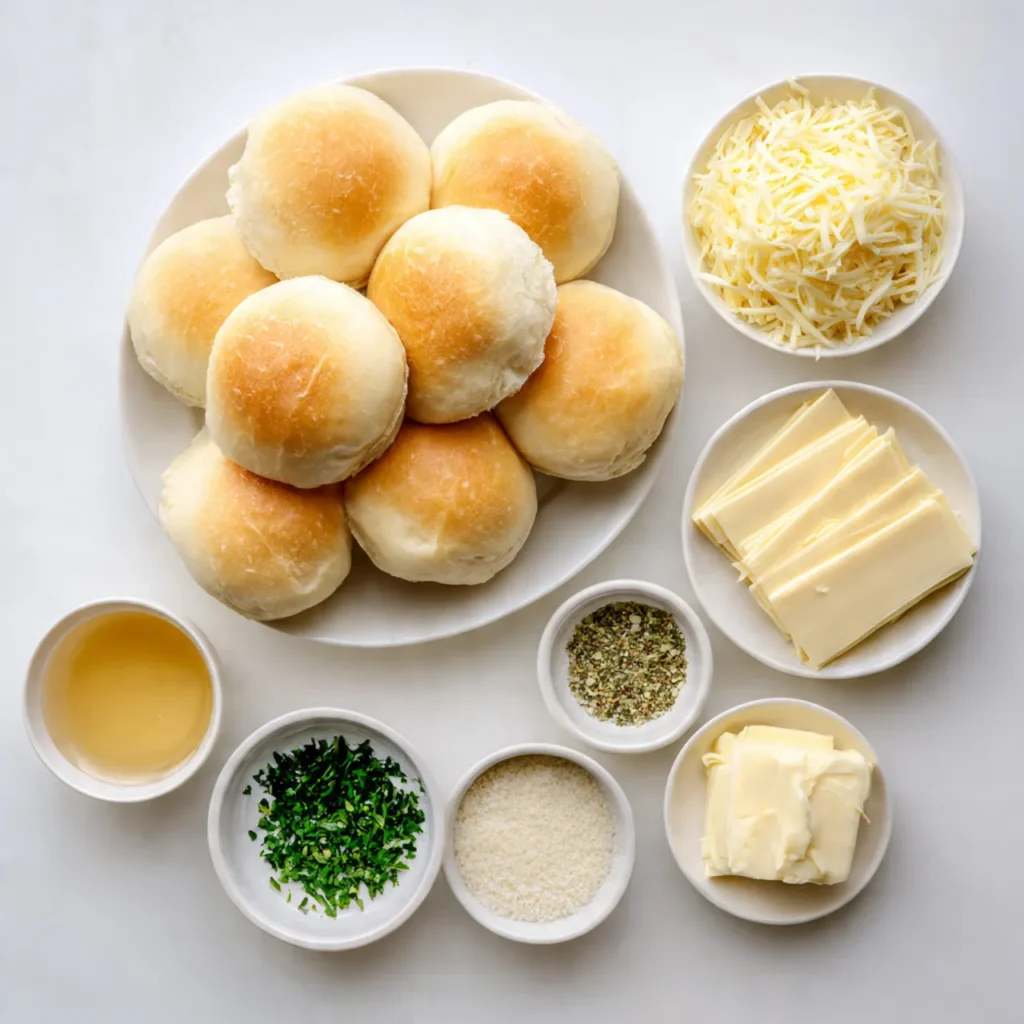
Ingredients
Tip: Choose fresh, soft Hawaiian rolls so they stay tender and don’t dry out while baking.
- 12 Hawaiian rolls
- 12 slices cooked meat (ham or chicken)
- 6 slices cheese, halved
- 4 tablespoons butter, melted
- 1 tablespoon mustard
- 1 teaspoon onion powder
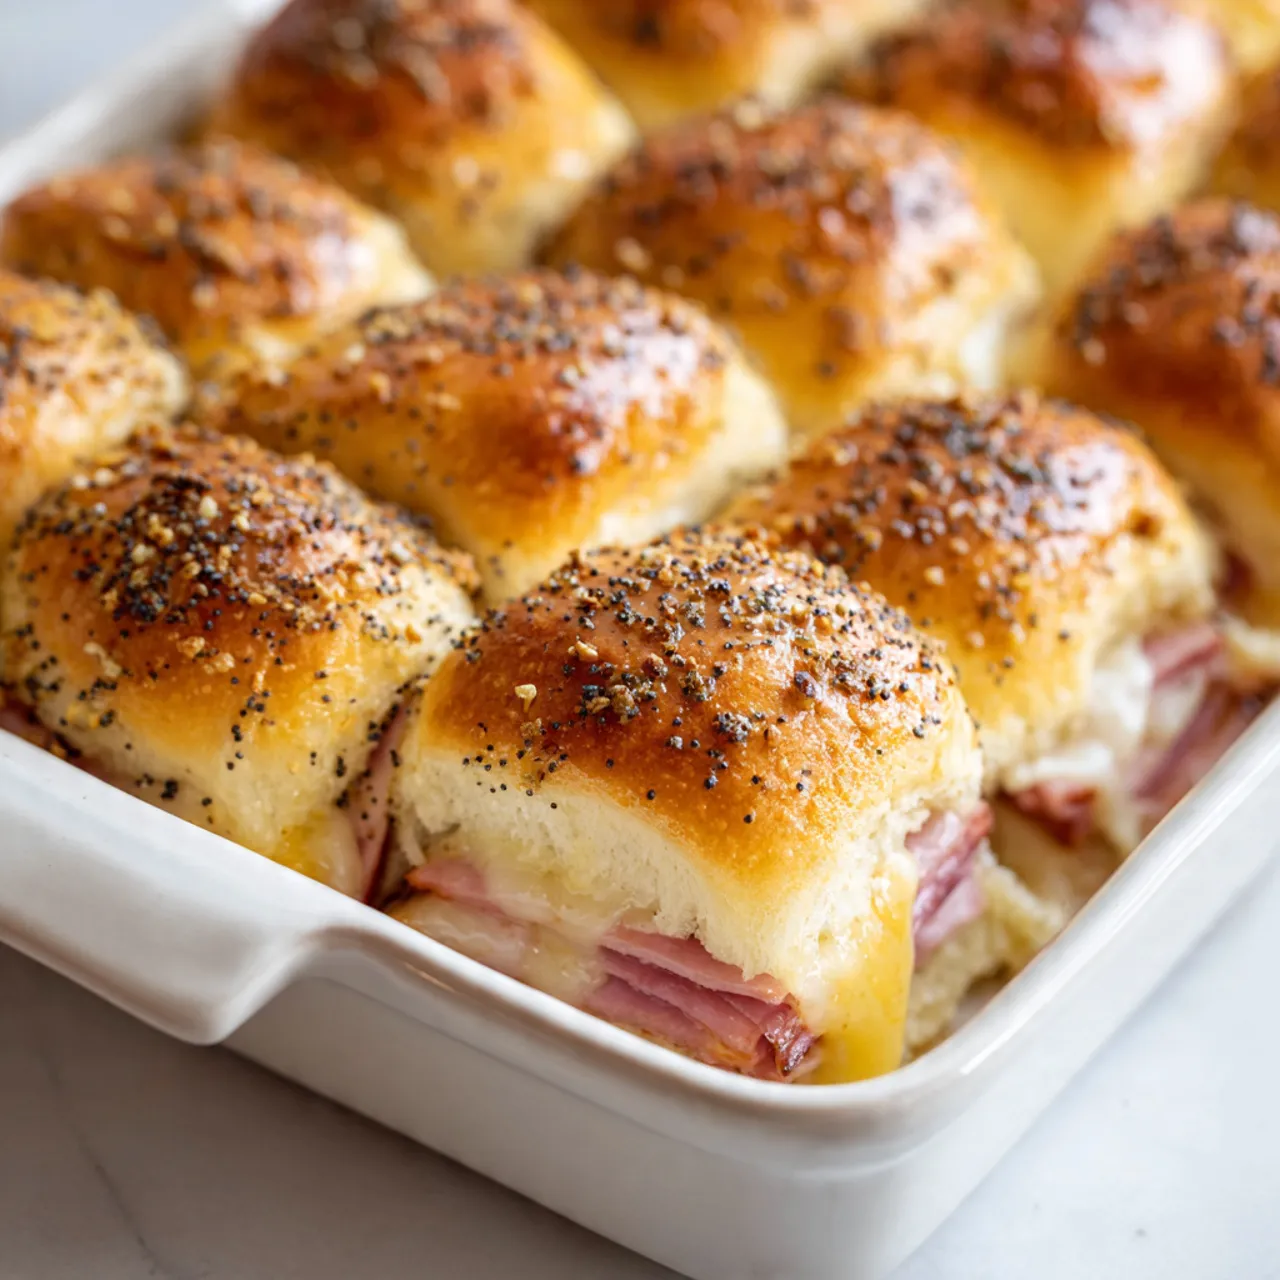
- 1 teaspoon poppy seeds
Instructions
Step 1: Preparation –
Preheat the oven and lightly grease a baking dish. Without pulling the rolls apart, slice them in half horizontally. Set the bottom layer into the dish, keeping it whole so the sliders stay neat and easy to serve later.
Step 2: Main Cooking Process –
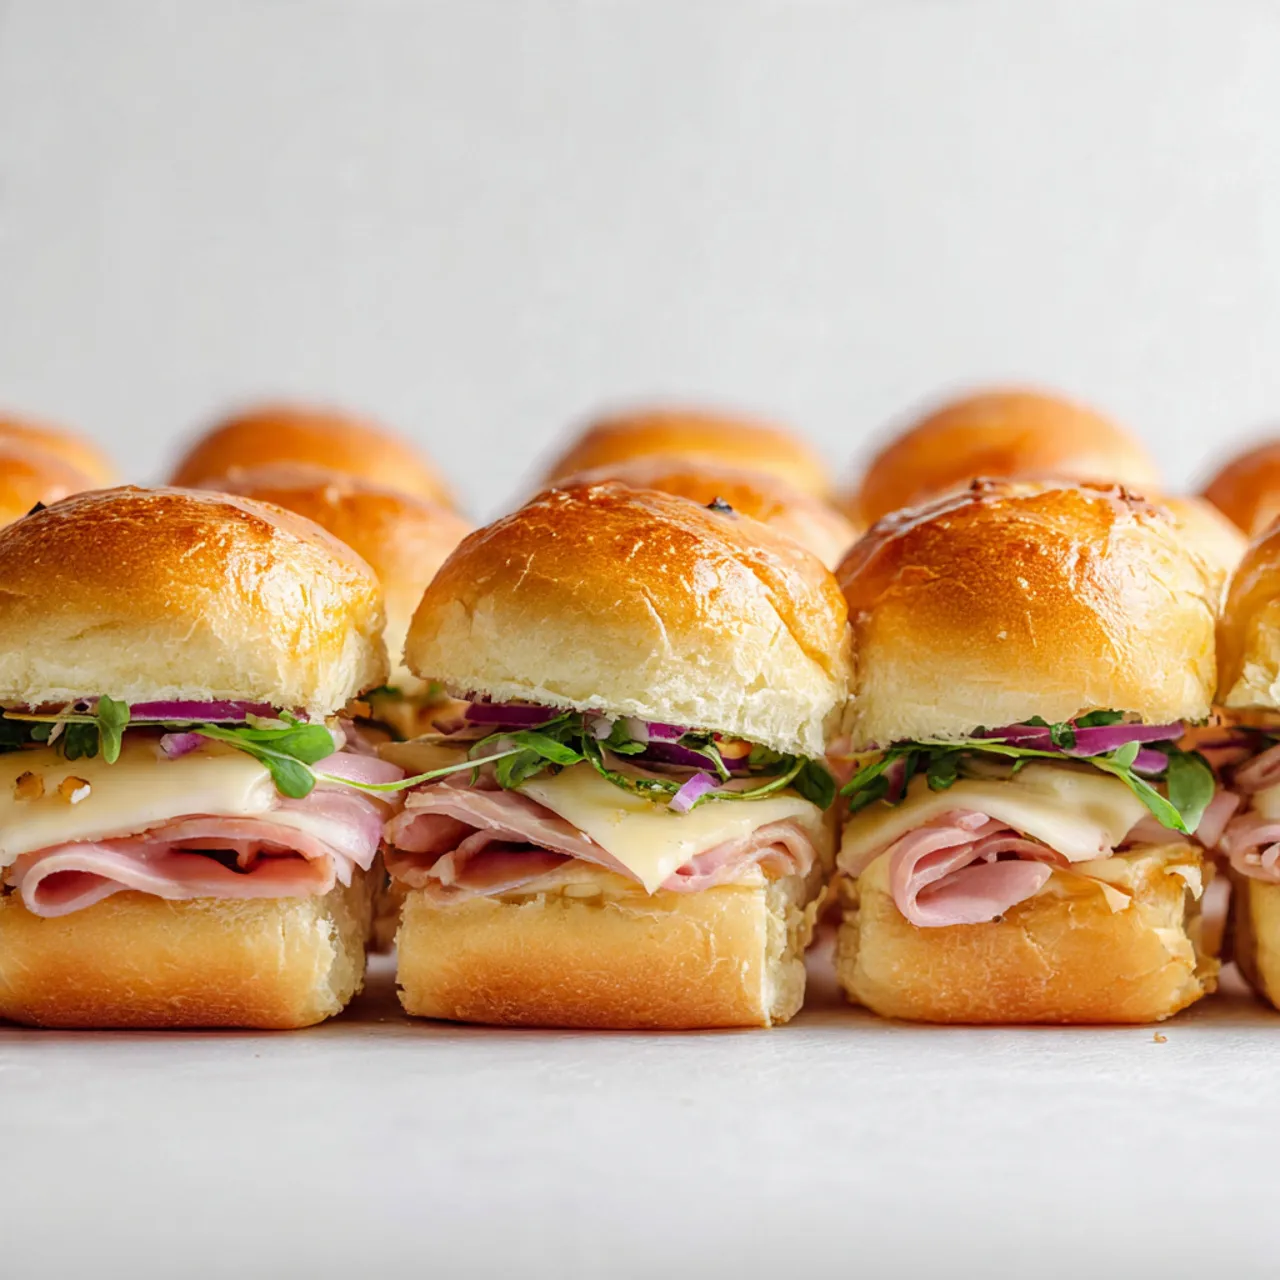
Layer the meat evenly over the rolls, folding pieces slightly so every bite has some filling. Add the cheese on top, spacing it out so it melts smoothly. The layers should look full but not overflowing.
Step 3: Combining Ingredients –
Place the top half of the rolls back on. In a small bowl, mix melted butter, mustard, onion powder, and poppy seeds. Brush this mixture slowly over the tops until they look glossy and smell rich.
Step 4: Finishing & Final Simmer –
Cover loosely with foil and bake until the cheese melts and everything is heated through. Uncover for the last few minutes so the tops turn lightly golden. Let the sliders rest briefly before slicing and serving.
Why This Recipe Works for Busy Days
This recipe saves time because everything cooks together in one dish. You can assemble it earlier in the day and bake when needed, which helps on long evenings. Leftovers reheat well, and the sliders freeze nicely. For Pinterest cooks who save recipes to use later, this one feels practical, calm, and easy to return to without stress.
Tips & Tricks
- Keep rolls connected: Cutting the rolls as one slab keeps layers even and prevents fillings from sliding out. Pulling them apart too early often leads to uneven portions and messy edges.
- Use foil wisely: Covering the sliders for most of the bake keeps the tops from browning too fast. Skipping this step can leave the bread dry before the center warms.
- Brush, don’t pour: Apply the butter mixture slowly with a brush. Pouring it all at once can soak the bread and make the tops heavy instead of lightly crisp.
- Rest before cutting: Let the sliders sit for a few minutes after baking. This helps the layers settle so slices stay together and look cleaner on the plate.
Variations
Meaty version:
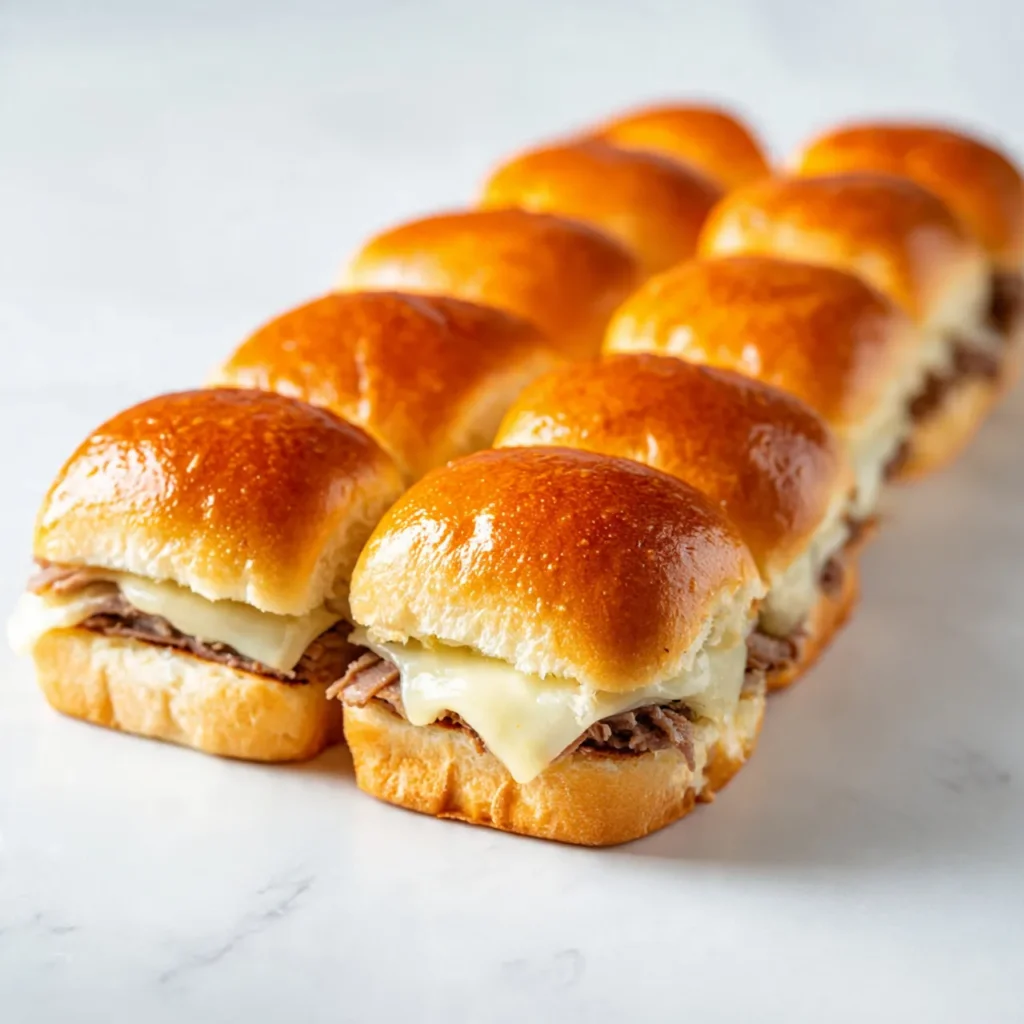
Add an extra layer of cooked meat like turkey or beef along with the main filling. Keep slices thin so the sliders don’t feel too heavy. This works well when feeding bigger appetites or turning sliders into a full dinner.
Vegetarian option:
Swap the meat for roasted vegetables such as mushrooms, peppers, or onions. Cook them first so excess moisture doesn’t soak the rolls. The result is still warm, filling, and comforting.
Ingredient swap:
Try a different cheese like Swiss, mozzarella, or provolone. Each melts differently and changes the flavor slightly, making the same recipe feel new without extra effort.
Flavor or herb boost:
Mix a pinch of dried herbs or garlic powder into the butter topping. This small change adds aroma and depth without overpowering the familiar comfort of the sliders.
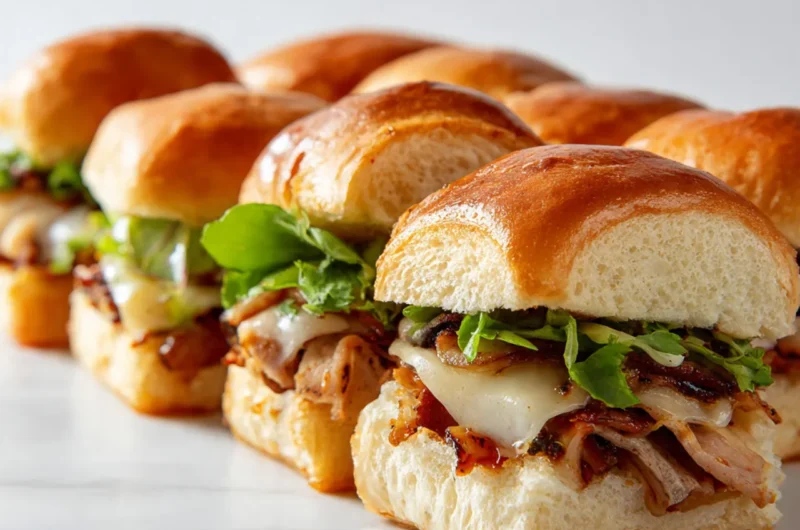
Serving Suggestions
- Easy family meal: Serve the sliders with a simple salad or steamed vegetables. This keeps the meal balanced while letting the warm sliders stay the main focus.
- Cozy dinner tray: Place the sliders on a lined platter and serve straight from the oven. They stay warm and inviting, perfect for relaxed evenings at home.
- Cold-night pairing: Add a bowl of soup or baked beans on the side for a comforting, filling dinner that feels extra cozy.
- Casual gathering spread: Pair with fruit slices or simple sides so guests can mix and match without feeling rushed.
Storage Instructions
- Fridge storage: Place leftover sliders in an airtight container and refrigerate for up to three days. Keeping them whole helps the bread stay soft longer.
- Reheating: Warm sliders in the oven, loosely covered, until heated through. This keeps the rolls tender and the filling melty without drying out.
- Freezing: Wrap assembled but unbaked sliders tightly and freeze. Thaw overnight in the fridge before baking for even heating.
- Make-ahead tips: Assemble the sliders a day in advance, cover, and refrigerate. Bake just before serving so they taste fresh and warm.
Recipe Timing
Prep Time: 10 minutes
Cook Time: 20 minutes
Rest Time: 5 minutes
Total Time: 35 minutes
Nutrition Information (Approximate)
Each serving has about 260–330 calories, depending on fillings and portion size. Protein ranges from roughly 12–18 grams per serving, mainly from the meat and cheese. These values are estimates and may vary based on ingredients used and serving sizes.
FAQs
Can I make these ahead?
Yes, assemble and refrigerate, then bake when ready.
What’s a common mistake?
Overbaking, which dries out the rolls.
Can I change the filling?
Yes, use any cooked meat or vegetables you like.
Why are my sliders soggy?
Too much butter or uncovered baking too early.
How long do leftovers last?
Up to three days in the fridge.
Can I adjust the flavor?
Add herbs or spices to the butter topping.
Conclusion
These sliders are the kind of recipe that fits into everyday life without effort. You can adjust the fillings, switch cheeses, or make them ahead, and they still turn out comforting and filling. sliders recipes hawaiian rolls are easy to reuse and adapt, which makes them worth saving for later. Whether you’re cooking for family or just want something warm and simple, this is the kind of meal that feels calm and familiar. It’s not fancy, just cozy food that brings everyone to the table.
Sliders Recipe Hawaiian Rolls
Course: Ham Sliders6
servings10
minutes20
minutes290
kcalSoft Hawaiian rolls filled with savory layers and baked with a buttery topping until warm and melty. Easy to make, comforting, and perfect for busy days or family meals
Ingredients
12 Hawaiian rolls
12 slices cooked meat
6 slices cheese
4 tablespoons butter, melted
1 tablespoon mustard
1 teaspoon onion powder
1 teaspoon poppy seeds
Directions
- Preheat oven to 350°F (175°C). Lightly grease a baking dish.
- Slice rolls in half horizontally and place the bottom layer in the dish.
- Add meat and cheese evenly over the rolls.
- Place the top layer of rolls on.
- Mix butter, mustard, onion powder, and poppy seeds.
- Brush mixture over the tops.
- Cover with foil and bake 15 minutes.
- Uncover and bake 5 minutes until lightly golden.