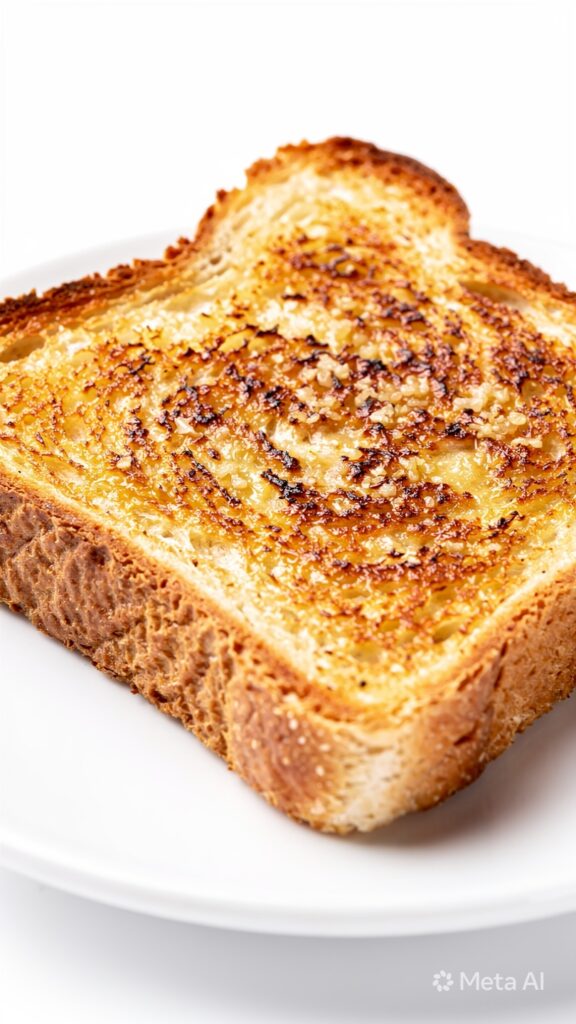
Texas Toast
Texas toast is one of those simple comfort foods that turns an ordinary meal into something warm and satisfying. Thick, buttery slices of bread are toasted until golden and crisp on the outside while staying soft inside. People love it because it’s quick, budget-friendly, and works with almost any meal. Whether you’re serving soup, pasta, or just need a cozy snack, it fits right in. I often make it on busy evenings when I want something easy but still homemade. The smell of toasted garlic butter alone makes the kitchen feel inviting and calm.
Why You Will Love This Recipe
This recipe is all about comfort with very little effort. It uses simple pantry ingredients, yet the result feels rich and satisfying. The crispy edges and soft center make every bite enjoyable, and it pairs with so many meals that it never goes to waste.
Texas toast is also very flexible, which makes it great for weekly meal planning. You can make it in batches, freeze it, and reheat it when needed. It’s cozy, weeknight-friendly, and loved by both kids and adults. It works as a side, snack, or even a quick base for sandwiches. The best part is how it upgrades even the simplest dinner into something special without extra effort.
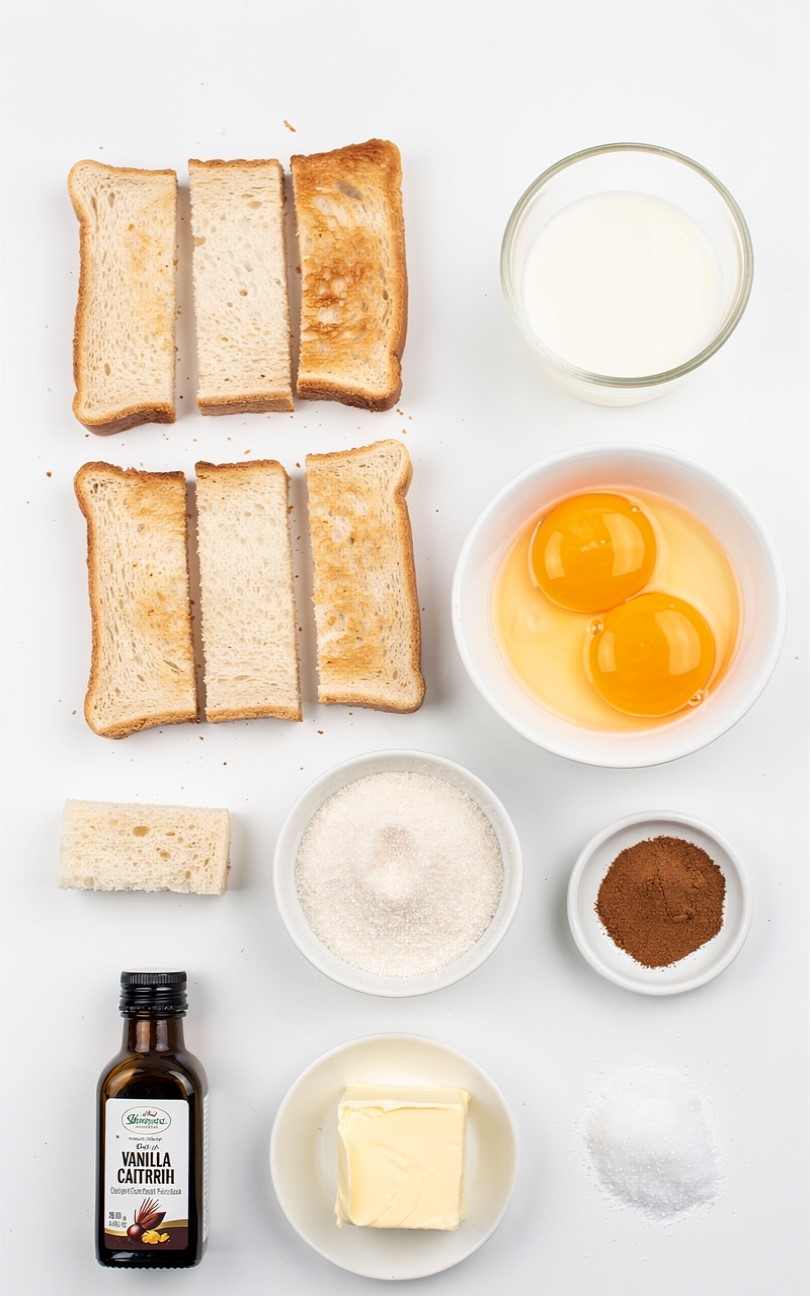
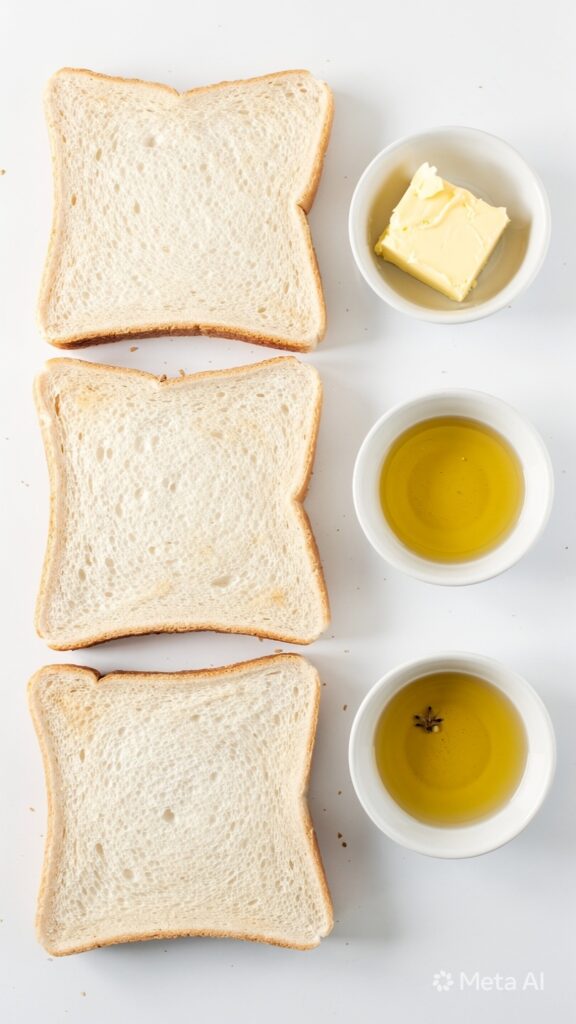
Ingredients
Tip: Use thick-cut bread for the best texture—it holds the butter better and toasts evenly.
- 4 slices thick white bread or Texas-style bread
- 4 tbsp unsalted butter, softened
- 2 cloves garlic, minced
- 1 tbsp fresh parsley, chopped
- 1/4 tsp salt
- 1/4 tsp black pepper
- 1/4 cup shredded mozzarella (optional)
- 1/4 cup shredded parmesan (optional)
Instructions
Step 1: Preparation
Start by preheating your oven so it’s ready when you finish prepping. Take softened butter and mix it with minced garlic, salt, pepper, and parsley in a small bowl. The mixture should be smooth and easy to spread. Lay out thick slices of bread on a baking tray so they are ready for coating.
Step 2: Main Cooking Process
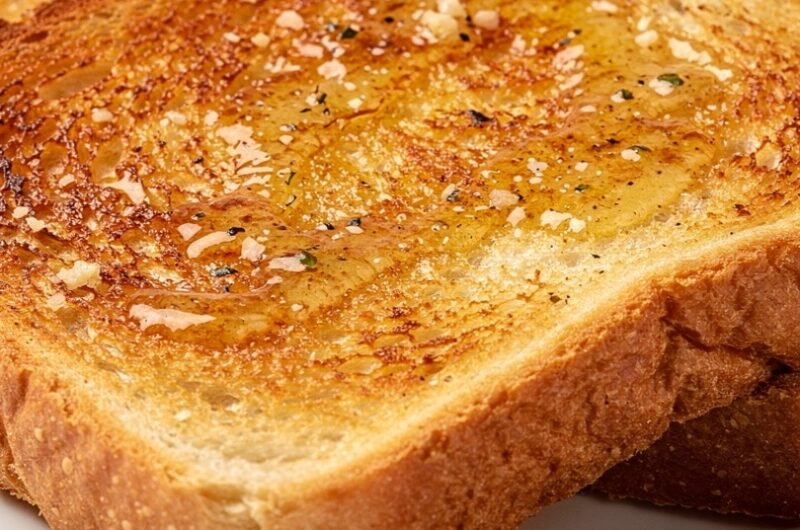
Spread the garlic butter mixture evenly over each slice of bread. Make sure the edges are covered so every bite has flavor. The bread should look glossy and well-coated. If you like extra richness, sprinkle a light layer of cheese on top before baking.
Step 3: Combining Ingredients
Place the prepared bread slices into the oven. As they bake, the butter melts into the bread, creating a soft aroma of garlic and toasted edges. Watch for the surface to turn golden while the edges become slightly crisp but not too hard.
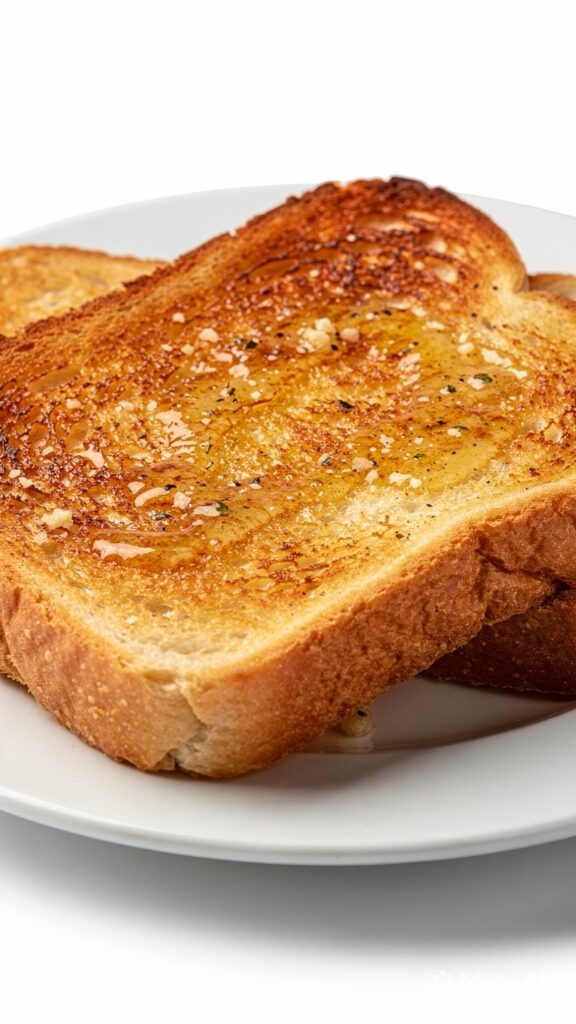
Step 4: Finishing & Final Simmer
Once baked, remove from the oven and let the toast rest for a minute. The cheese, if used, will be melted and slightly stretchy. The bread should feel crisp on the outside and soft inside, ready to serve warm with your favorite meals.
Why This Recipe Works for Busy Days
This recipe is fast, simple, and requires very little prep time. It’s perfect when you need something homemade but don’t want to spend long in the kitchen. You can prepare the butter mixture ahead of time and store it, making it even quicker during busy evenings. It also reheats well, so leftovers are never a problem.
Tips & Tricks
- Use slightly stale bread if possible, because it holds the butter better and gets crispier without becoming too soft. Fresh bread can sometimes turn soggy if over-buttered, so adjust spreading lightly when needed.
- Don’t skip softening the butter. Cold butter won’t spread evenly and may tear the bread, leading to uneven flavor and texture after baking.
- Keep an eye on baking time. Every oven is different, and a minute too long can make the edges too hard instead of lightly crisp and golden.
- Add cheese near the end of baking for better melting. If added too early, it can brown too quickly and lose its creamy texture.
Variations
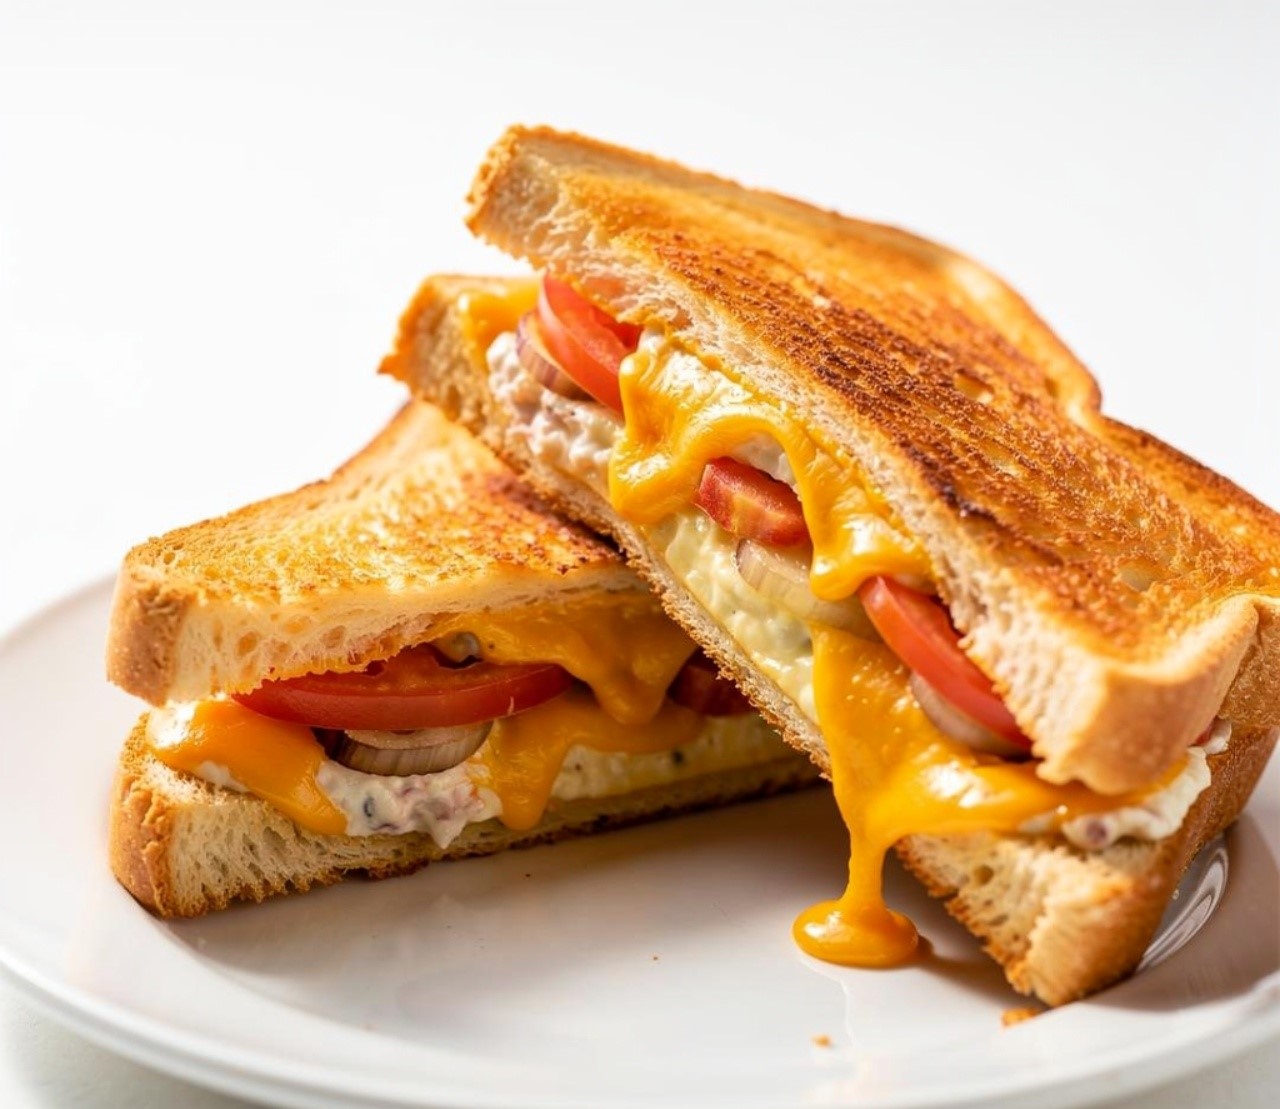
Meaty Version
Add cooked shredded chicken or ground beef on top of the buttered bread before baking. This turns it into a filling open-faced sandwich that works well for lunch or a quick dinner option.
Vegetarian Option
Skip meat and add sliced tomatoes, spinach, or sautéed mushrooms on top. These vegetables blend well with garlic butter and keep the toast light but flavorful.
Ingredient Swap
Swap regular bread with sourdough or whole wheat for a different texture and taste. Each option changes the flavor slightly but still keeps the crispy, buttery finish.
Flavor or Herb Boost
Add oregano, basil, or Italian seasoning to the butter mix. These herbs give a more aromatic, savory flavor that pairs well with pasta or soups.
Serving Suggestions
Soup Side Companion
Serve warm Texas toast alongside tomato soup, chicken soup, or creamy vegetable soups. The crispy bread soaks up broth beautifully, making each bite more comforting and filling.
Pasta Night Addition
Pair it with spaghetti or creamy pasta dishes. The buttery toast helps balance rich sauces and adds a crunchy contrast to soft noodles.
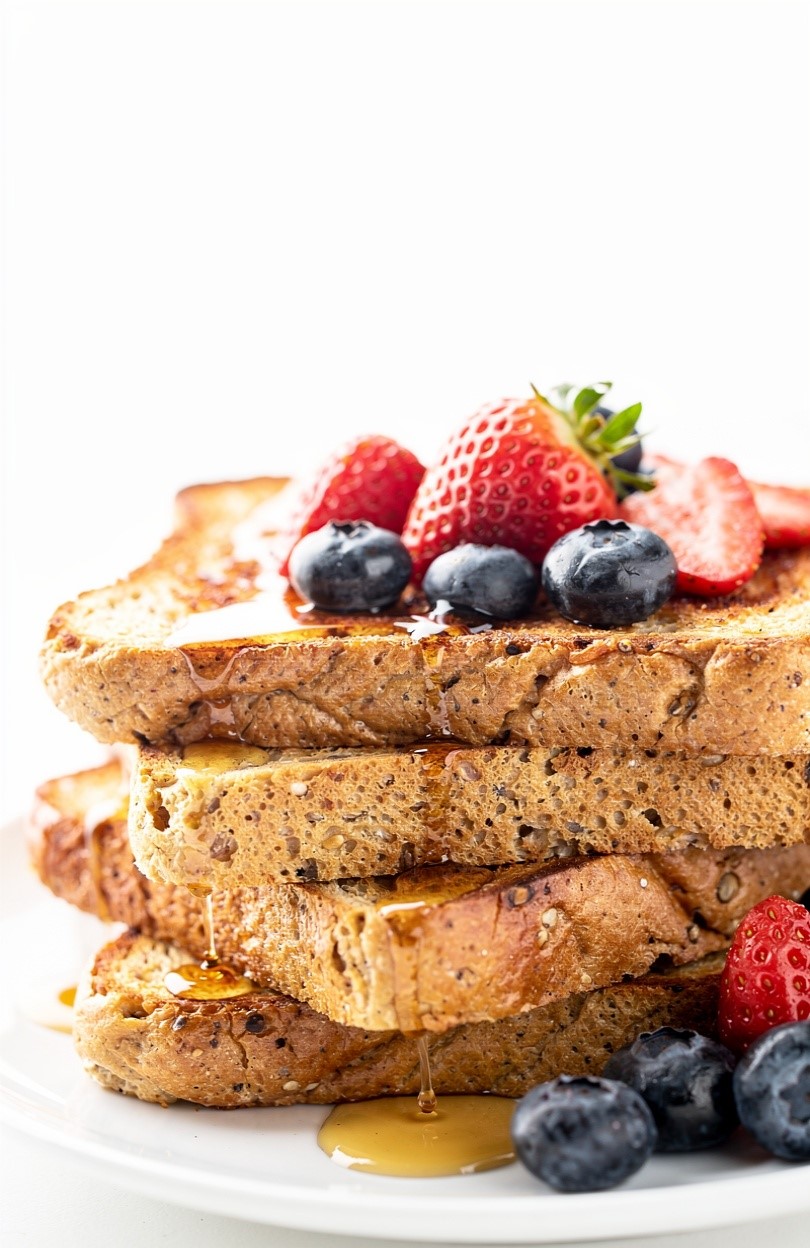
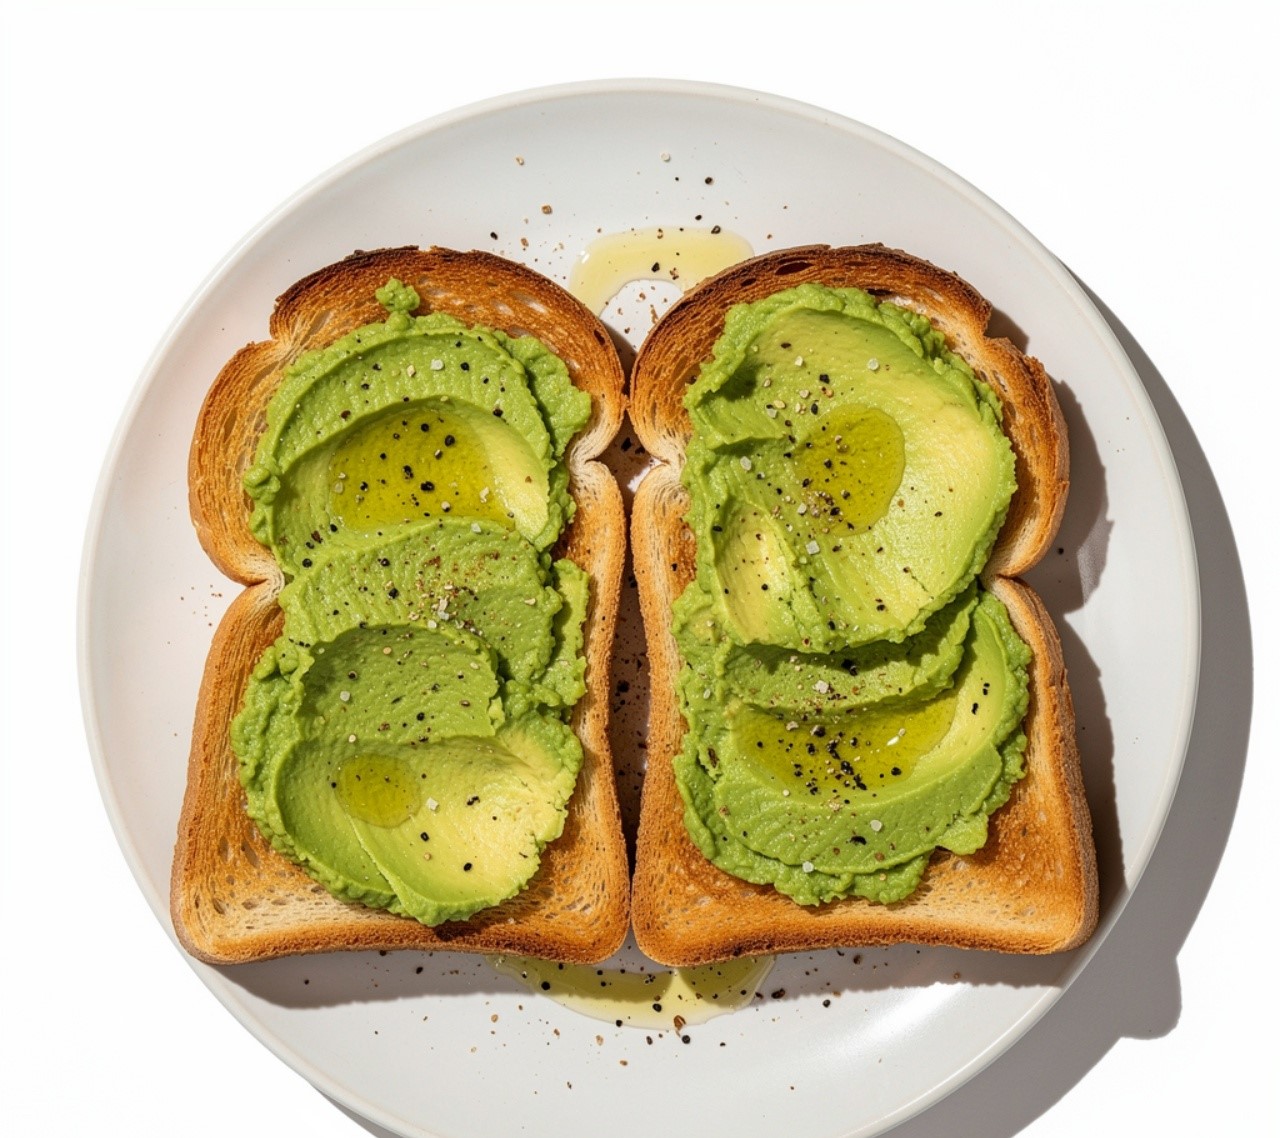
Breakfast Plate Idea
Serve with scrambled eggs, bacon, or avocado. It works as a hearty breakfast base that feels both simple and satisfying.
Snack Style Serving
Cut into smaller strips and serve as a snack or appetizer. It’s great for dipping into sauces or enjoying on its own during casual gatherings.
Storage Instructions
Fridge Storage
Store leftover toast in an airtight container in the fridge for up to 3 days. Let it cool completely before storing to avoid moisture buildup, which can make it soggy.
Reheating
Reheat in the oven or air fryer for best texture. This brings back the crisp edges without making the bread too dry. Avoid microwaving if possible, as it softens the toast.
Freezing
Freeze unbaked buttered slices on a tray, then transfer to a bag. Bake directly from frozen when needed. This keeps flavor fresh and saves time on busy days.
Make-Ahead Tips
Prepare the garlic butter mixture in advance and refrigerate it. You can spread and bake fresh slices anytime, making dinner preparation quick and stress-free.
Recipe Timing
Prep Time: 5 minutes
Cook Time: 10–12 minutes
Rest Time: 1 minute
Total Time: 16–18 minutes
Nutrition Information
Each serving of Texas toast contains around 180–260 calories depending on butter and cheese used. It provides moderate carbohydrates from bread and fats from butter. Protein is minimal unless cheese is added. Nutritional values are estimates and may vary based on portion size and ingredients.
FAQs
Can I make it ahead of time?
Yes, you can prepare the buttered bread in advance and bake it when needed for fresh results.
What is the most common mistake?
Using too much butter can make the bread soggy instead of crisp and golden.
Can I use different bread?
Yes, sourdough or whole wheat works well, but thick slices are best.
Why is my toast not crispy?
It may need a higher oven temperature or a few extra minutes of baking.
How do I store leftovers?
Keep them in an airtight container in the fridge and reheat in the oven.
Can I change the flavor?
Yes, adding herbs or spices to the butter can completely change the taste.
Conclusion
Texas toast is one of those simple recipes that always feels comforting no matter when you make it. It’s quick to prepare, easy to customize, and pairs with almost anything on the table. Whether you keep it classic or add your own twist, it brings warmth to everyday meals without any effort. The buttery crunch and soft center make it a favorite you’ll want to repeat often. Once you try Texas toast fresh from the oven, it naturally becomes a go-to side in your kitchen.
Texas Toast
Course: Breakfast Toast Recipes4
servings5
minutes10
minutes300
kcalThick, buttery toast baked until golden and crisp on the outside, soft and flavorful inside. Perfect as a side for soups, pasta, or a quick snack.
Ingredients
4 thick bread slices
4 tbsp butter, softened
2 cloves garlic, minced
1 tbsp parsley
Salt and pepper to taste
Optional: mozzarella or parmesan cheese
Directions
- Preheat oven to 400°F (200°C).
- Mix butter, garlic, parsley, salt, and pepper.
- Spread mixture over bread slices.
- Place on baking tray.
- Bake until golden and crisp.
- Add cheese if using and bake until melted.
- Let rest briefly before serving.